
Hostel Allocation Workflow
The core function of the Hostel Management module is the Allocation Request workflow. This process manages the lifecycle of a student's application for a hostel bed, from initial request to final allocation and invoicing.
Workflow Overview
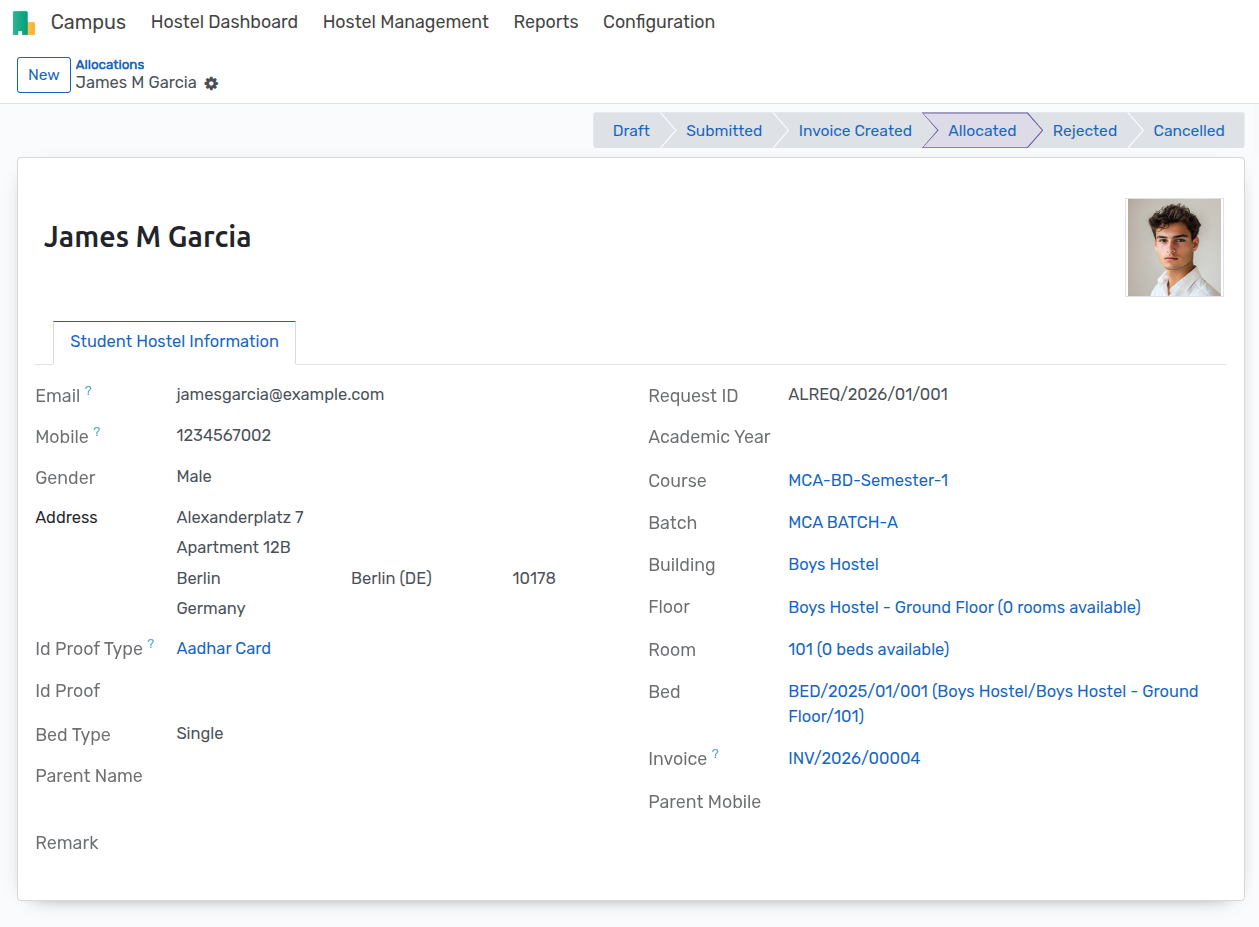
Draft: A request is created for a student.
Submitted: The request is confirmed and awaits administrative review.
Approved: The admin validates the request. An invoice is automatically generated, and the bed is marked as "Reserved".
Allocated: Once the invoice is paid, the system finalizes the allocation, marking the bed as "Occupied".
1. Creating a Request
Allocations can be created manually by administrators or submitted via the portal by students (if configured).
Navigation: Campus > Hostel Management > Allocations
Click New.
Student: Select the student. The system will auto-populate related information (Parent, Gender, Course).
Building: Select the desired hostel building.
Facility Details: Select the Floor and Room.
Bed Selection:
Bed Type: Choose Single or Bunk.
Bed: Select an available bed.
Berth: If Bunk, select the specific berth (e.g., Upper/Lower).
Documents: Upload ID Proof and other required documents.
Click Save. The request is now in Draft state.
Student Portal Allocation
Students can also submit allocation requests directly through their web portal.
Navigation: Portal > Hostel Allocation > Create New
Student Details: The system automatically pulls the student's profile information (Name, Course, Batch).
Facility Selection: The student selects the desired Building, Floor, Room, and Bed Type (Single/Bunk). * Note: The system filters beds to show only available options.
Bunk Beds: If a bunk bed is selected, the student can choose a specific Berth (e.g., Upper/Lower).
Documents: Upload required identification proofs directly in the form.
Submit: Upon clicking submit, the request is created in the backend with the Submitted state, ready for admin approval.

2. Submission and Approval
Once the details are verified, the request is moved to the next stage.
Submit: Click Submit to lock the request for review.
Approve: An administrator clicks Approve.
Upon Approval:
Acccountability Validation: The system checks if the selected bed is still available.
Invoice Generation: A Draft Invoice is created for the hostel fee.
Bed Status: The bed status changes to Reserved to prevent double-booking.
3. Finalizing Allocation (Payment)
The allocation is not complete until the fee is paid.
Navigate to the linked Invoice from the smart button on the request.
Confirm and Register Payment for the invoice.
Once the invoice is Paid, the Allocation Request status automatically updates to Allocated.
The Bed status updates to Occupied.
ملاحظة
If an invoice is cancelled or the request is rejected, the bed is automatically released and made available for other students.
Unlink Protections
To ensure data integrity, you cannot delete an Allocation Request that is in the Allocated state. You must first Cancel the request (which releases the bed) before deletion is possible.