Student Feedback
Configuration
Configuration of feedback templates allows you to define the questions and layout used for collecting responses from students.
Feedback Template
To configure the feedback template, follow the steps below.
Go to SIS ‣ Configuration ‣ Feedback ‣ Feedback Template.
Click on New to create a new Feedback Template.
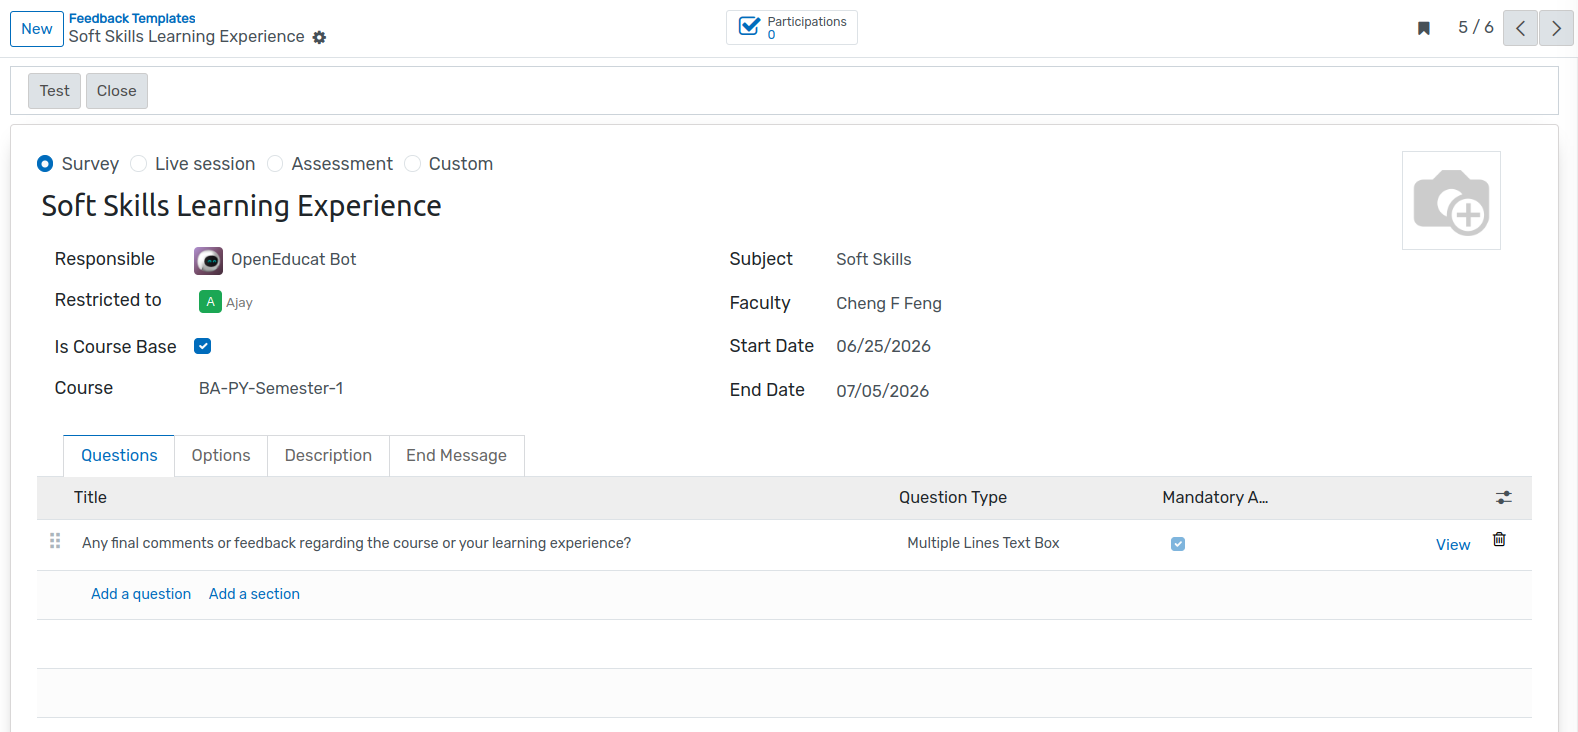
Details of feedback Templates
Title :- The Title field defines the name of the feedback that will be displayed to students on the portal during the feedback submission process
Responsible:Select a user from the dropdown who will manage and review the feedback template and its responses.
Start Date:- Select the date when the feedback becomes active.
End Date: Select the date when the feedback will be closed.
Is Course Base : If the template is course-based, it can only be used for course-specific feedback and not for general or faculty-based feedback
Course: Select the course to which this feedback template applies.
Subject: Choose the specific subject the feedback is related to, if applicable.
Faculty: Select the faculty member responsible for the subject or course being evaluated.
Question Page
Click on Add a line to insert feedback questions. For each question, configure the following fields:
Question Type: Choose the format of the question (e.g., text, multiple choice, matrix).
Answers: Provide predefined answer choices, if applicable.
Option Page
Show Comments Field: Enable to allow users to provide additional comments along with their answer.
Conditional Display: Show this question only if specific previous answers were given.
Triggering Answers: Select the answers that will trigger the conditional display.
Optional Previous Answers Required: Mark if this question depends on the selection of a previous answer.
Constraints: Add logical restrictions or rules, such as numeric limits or pattern formats.
Mandatory Answer: Enable this to require an answer before submission.
Error Message: Define a custom error message when a mandatory question is left unanswered (e.g., « This question requires an answer. »).
Live Sessions: If used in live feedback sessions, configure live settings.
Time Limits: Specify a time limit for answering (only available during Live Sessions).
Description
Please add a description for this feedback template here.
End Message
Please add the final message to display after the template is submitted.
Generate Feedback Request
Go to SIS ‣ Student ‣ List view
Select a student, click on the « Action » menu, and choose « Generate Feedback Request » to start the process.
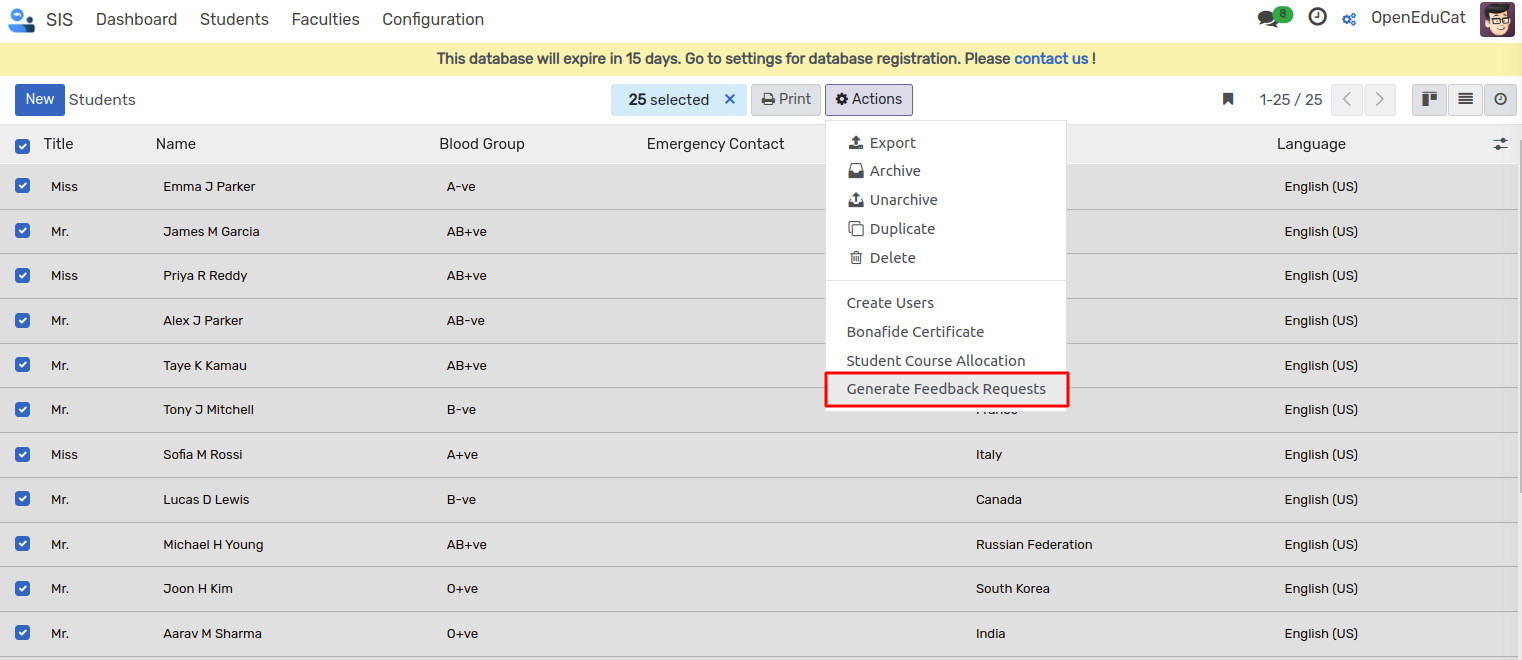
Here, you can generate course-based or general feedback requests for students.
A wizard will appear, as shown in the images below.

Details of Generate feedback request
Is Course Based: If enabled, the feedback will be generated based on the selected course and its associated subjects.
Course: Select the course for which the feedback is being generated.
Subject :Select the subject related to the chosen course.
Survey :Only surveys defined for the selected course and subject will be available for selection.
Student: If « Course Based » is enabled, this field will automatically include all students enrolled in the selected subject.
Start Date: This will be automatically set based on the start date of the selected survey.
End Date: This will be automatically set based on the end date of the selected survey.
Feedback Template: Select the feedback template to be used for the request.
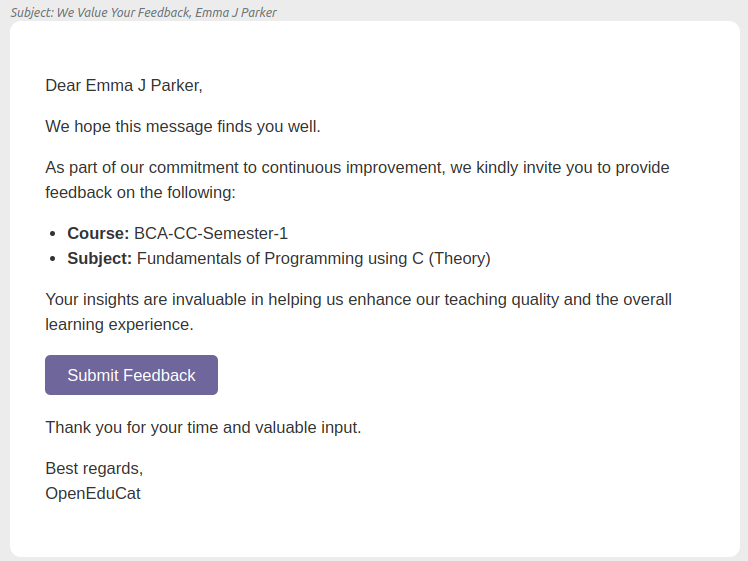
When you click the Submit button, feedback requests are generated for the selected students, and emails are automatically sent containing the feedback link.
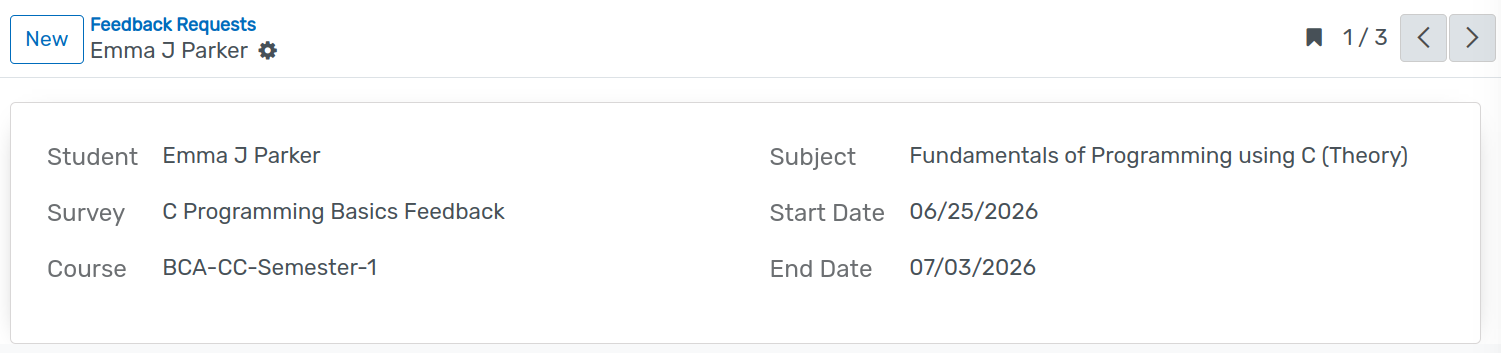
Feedback Request
Go to Student ‣ General ‣ Feedback Request
Here, you can view all generated feedback requests.
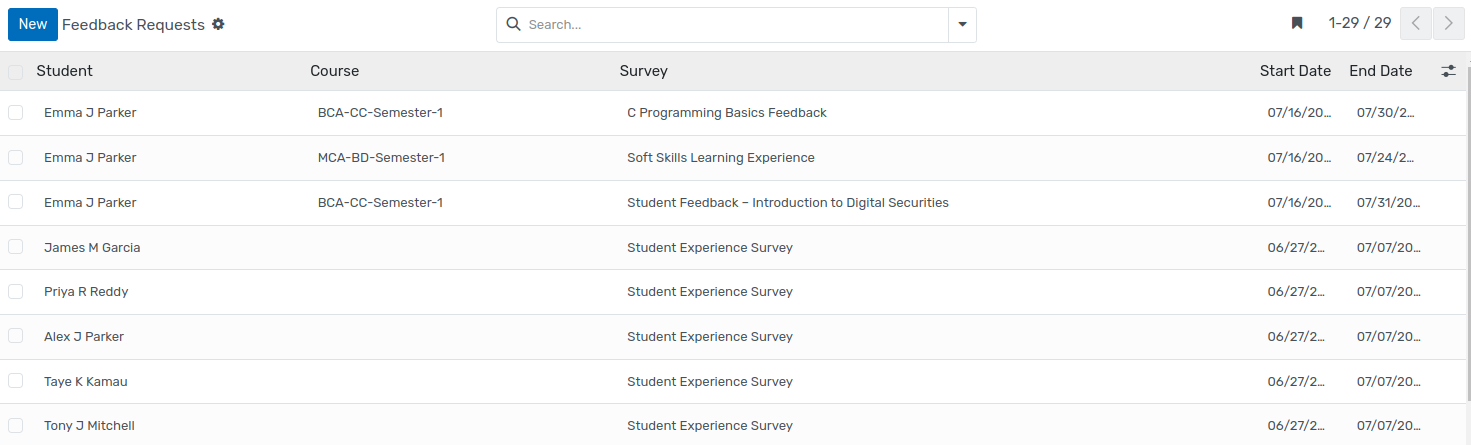
Email notifications sent to students will be visible in the chatter, as shown at the bottom of the images.
When a student logs in to their account, they will see the available feedback request. They can click Start Feedback to begin submitting their responses.
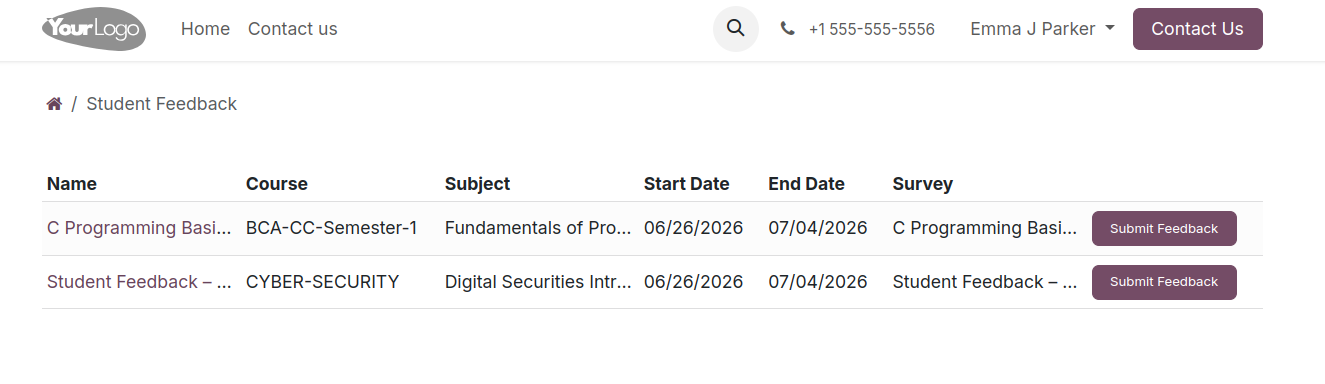
After clicking on Submit Feedback, the Start Feedback button will become visible, allowing the student to begin the feedback process.
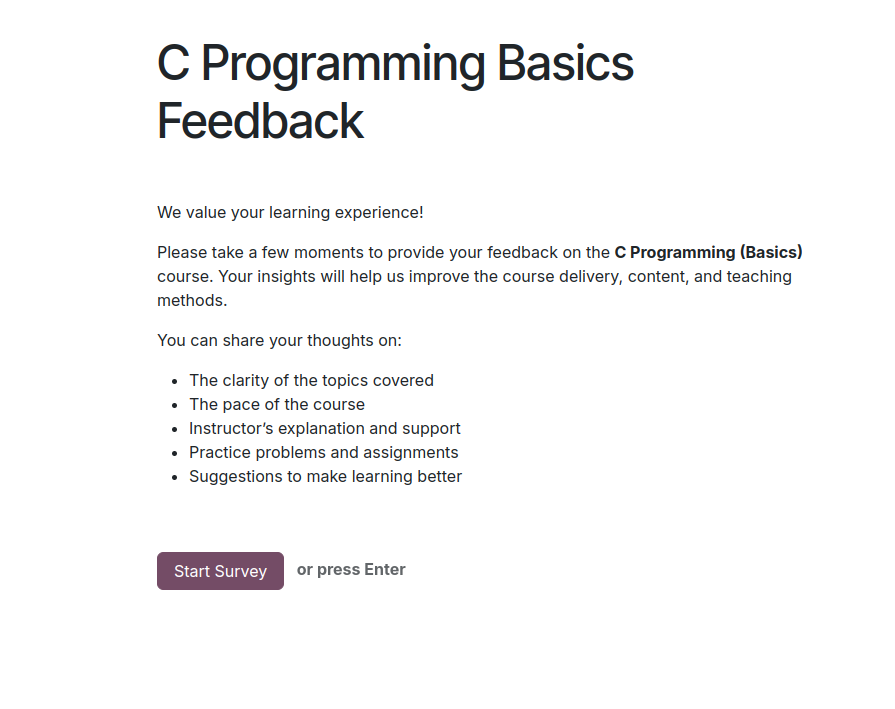
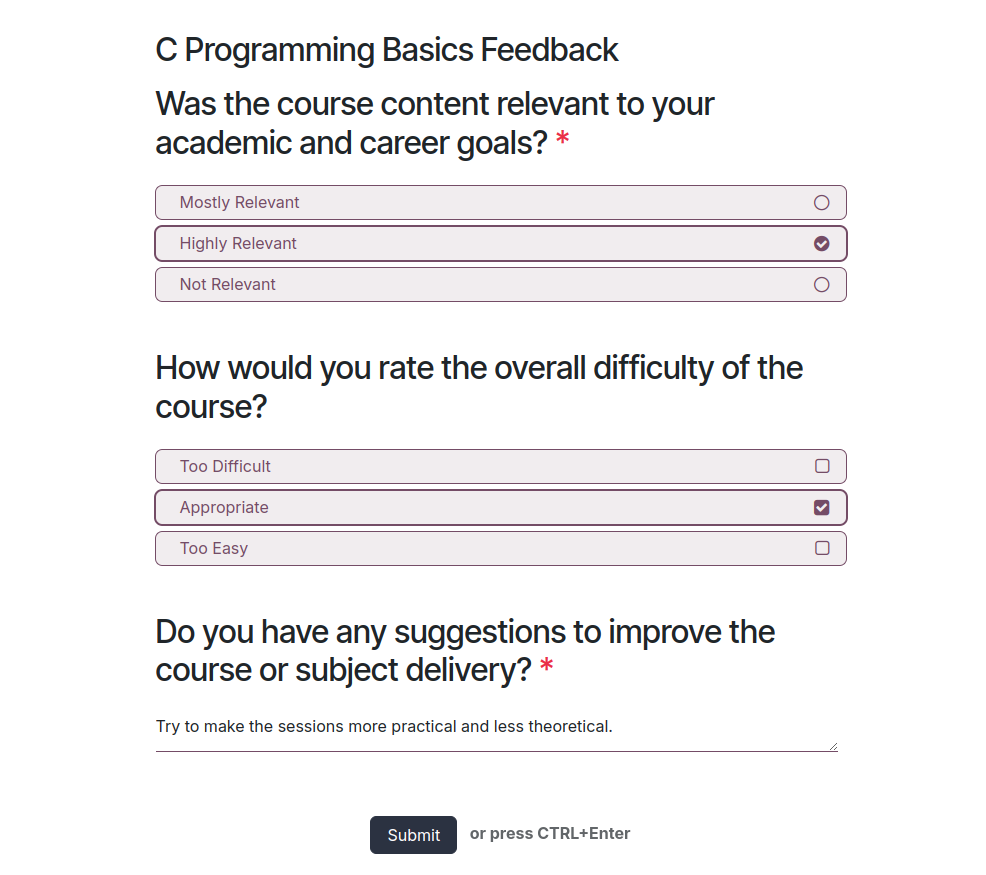
Here, students can fill out all the feedback questions and submit their responses by clicking the Submit button.
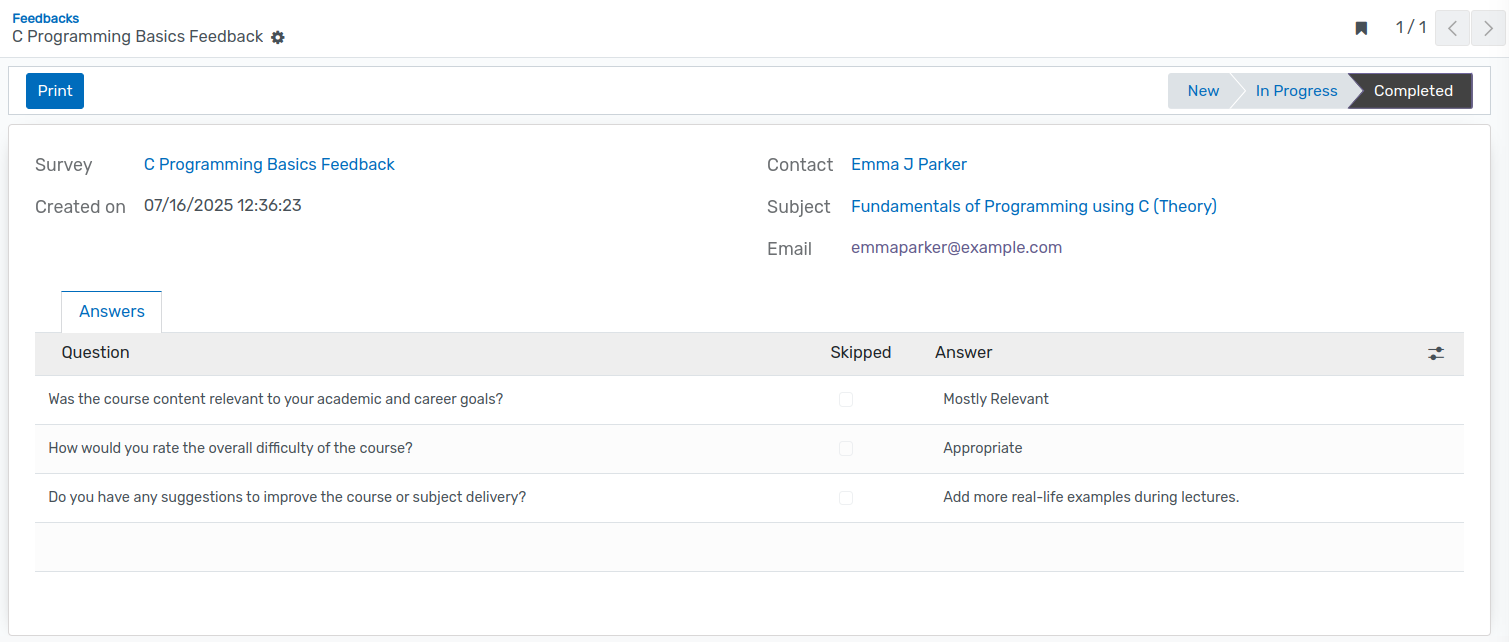
Student Feedback
Go to Student ‣ General ‣ Feedbacks
Once submitted, all student feedback responses will be visible in this view for tracking and review.
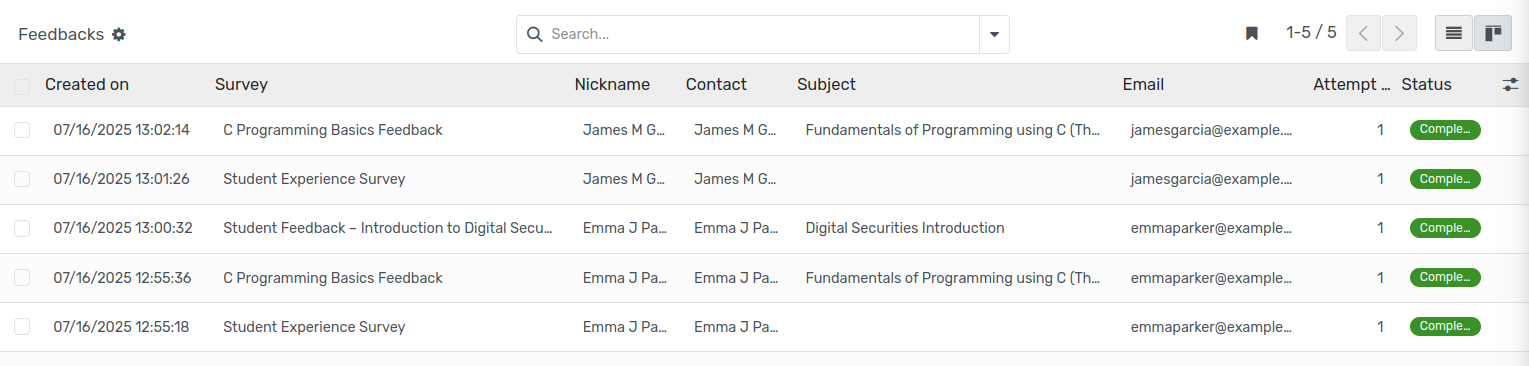
You can click on any feedback entry to open and view the detailed response, as shown in the image below.