سجلات القبول
قبل تسجيل الطالب، يتم إنشاء سجل القبول لكل دورة. تقع جميع عمليات القبول لهذه الدورة في سجل القبول المعني.
You can go to the . Click on
Newbutton to create a new Admission Register.
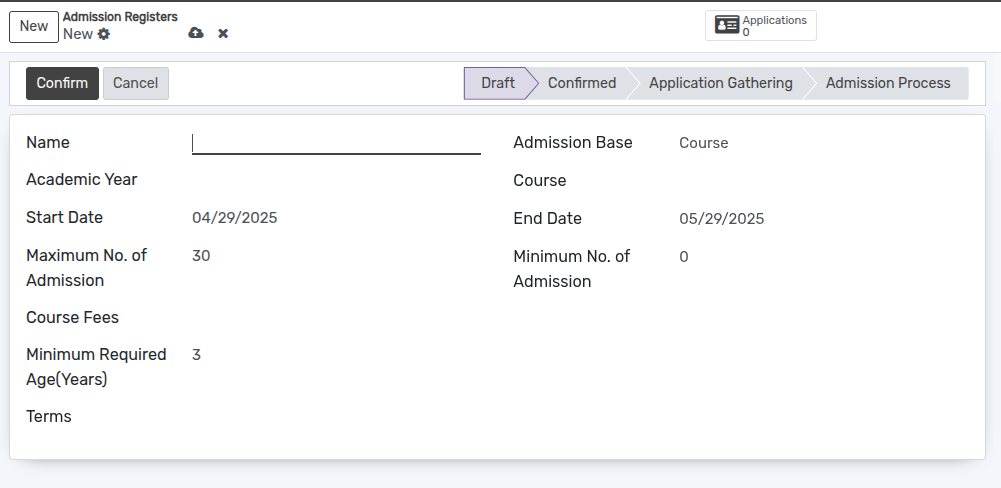
تفاصيل نموذج سجلات القبول
Name :- Provide appropriate title for the admission Register.
Admission Base :- Selection field to determine whether the admission is based on a program or a course.
Course :- Select the course from the list of courses.
Start Date :- By default today's date appears here.
End Date :- By default one month later date appears here.
Course Fees :- Select Course fees. Its like a service product.
Minimum No. of Admission :- Min no. of admissions for particular course can be specified.
Maximum No. of Admission :- Max no. of admissions for particular course can be specified. By default it displays 30.
Minimum Required Age(Years) :- Specifies the minimum age, in years, that an applicant must be to qualify for admission.
Terms :- Select the term from the list.
Applications Button :- It provides a quick way to view all the applications linked to a specific Admission Register. It displays the total number of applicants and allows users to navigate directly to the list of applications.

Admission Base on Program Configuration
Select Program in the Admission Base field.
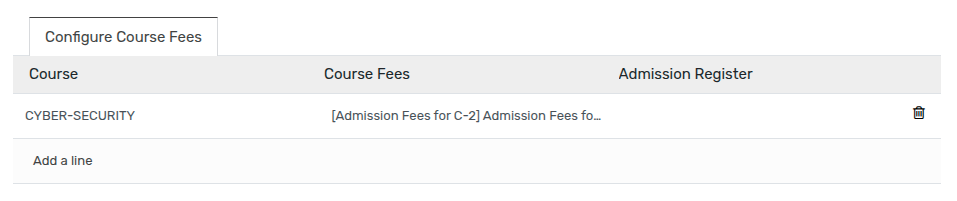
Configure fees for the program in the Admission Fees Configuration section
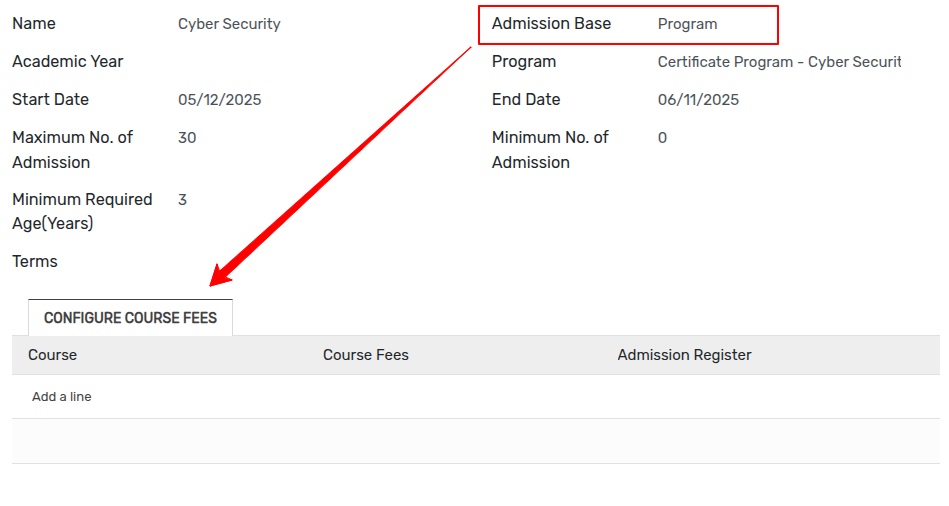
Click on the
Add a linebutton to configure course fees.Select the course from the list of courses and fees.
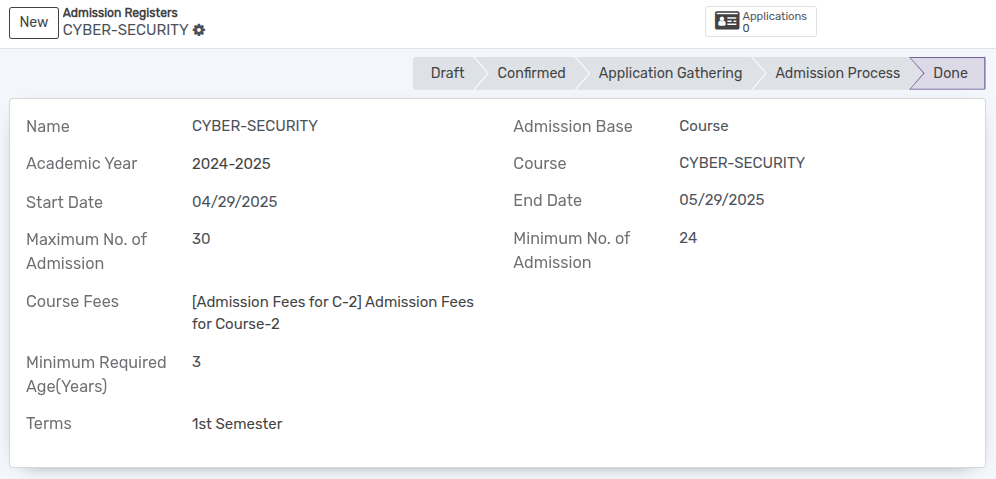
سجل القبول سير العمل
في البداية، يبدأ تدفق سجل القبول بحالة المسودة.
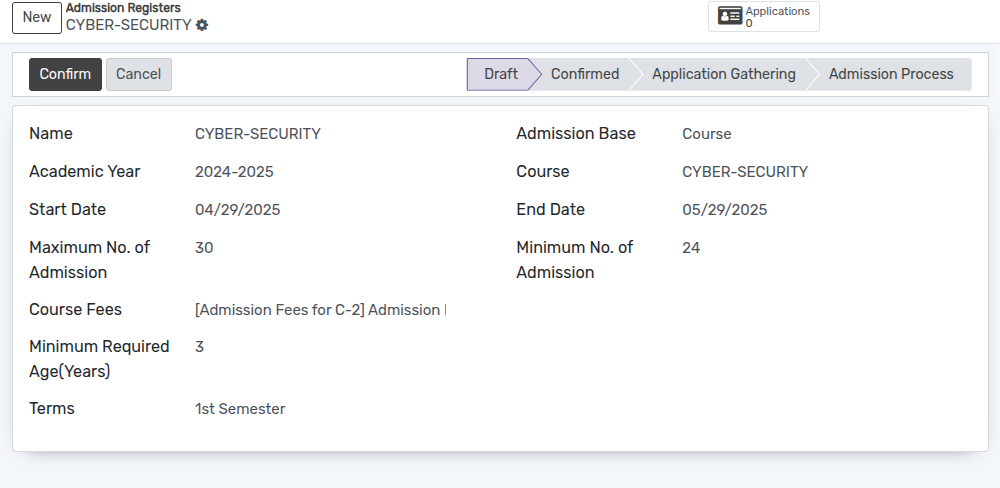
انقر على زر
تأكيدلتأكيد تسجيل القبول.إذا كنت ترغب في إلغاء تسجيل القبول انقر على زر
إلغاء.
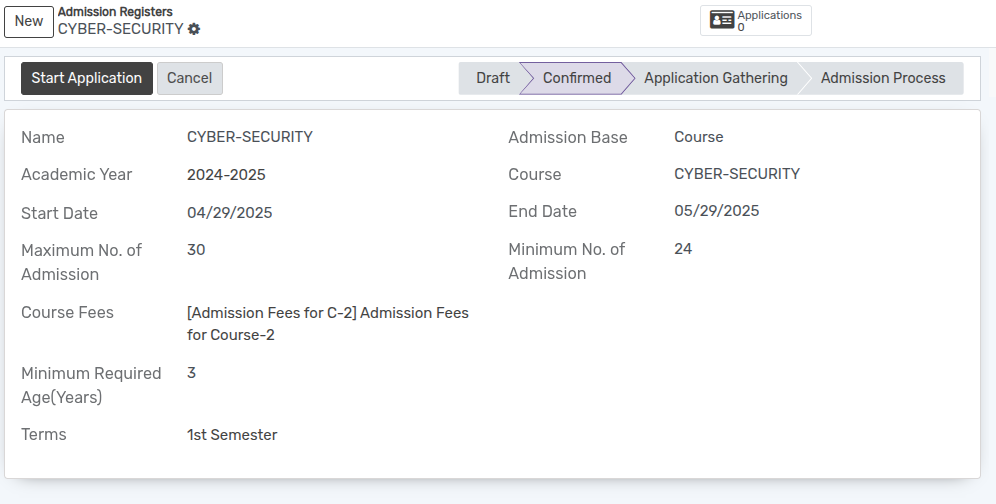
اضغط على زر
بدء التقديملبدء استلام الطلب من الطلاب.

الآن يمكن إنشاء/اختيار القبول ضمن سجل قبول معين.
بعد ذلك اضغط على زر
بدء القبوللبدء عملية قبول الطالب.
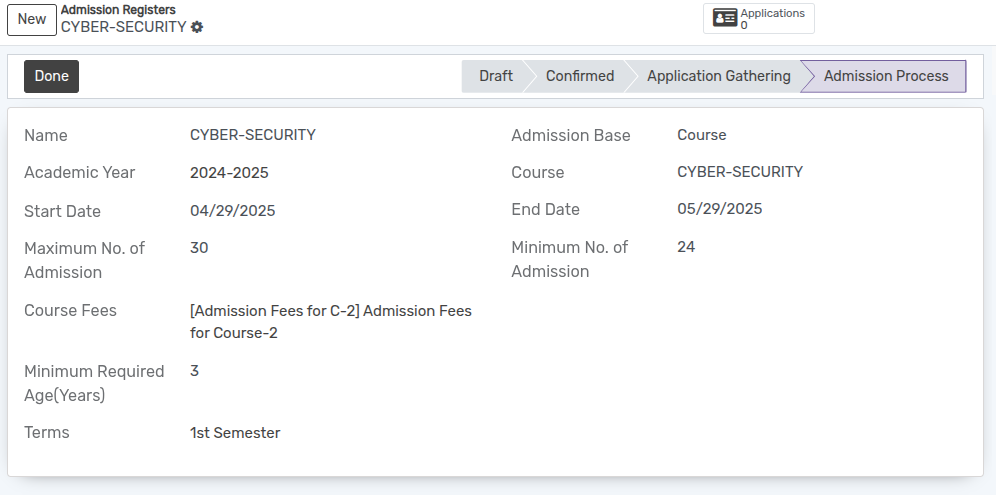
بعد الانتهاء من تسجيل الطلاب، انقر على زر
تم. تم تغيير الحالة إلى حالة تم.