Registros de admisión
Antes de la Matrícula de un estudiante se crea un Registro de Admisión para cada curso. Todas las admisiones para ese curso se encuentran en el Registro de Admisiones respectivo.
You can go to the . Click on
Newbutton to create a new Admission Register.
Detalles del formulario de registros de admisión
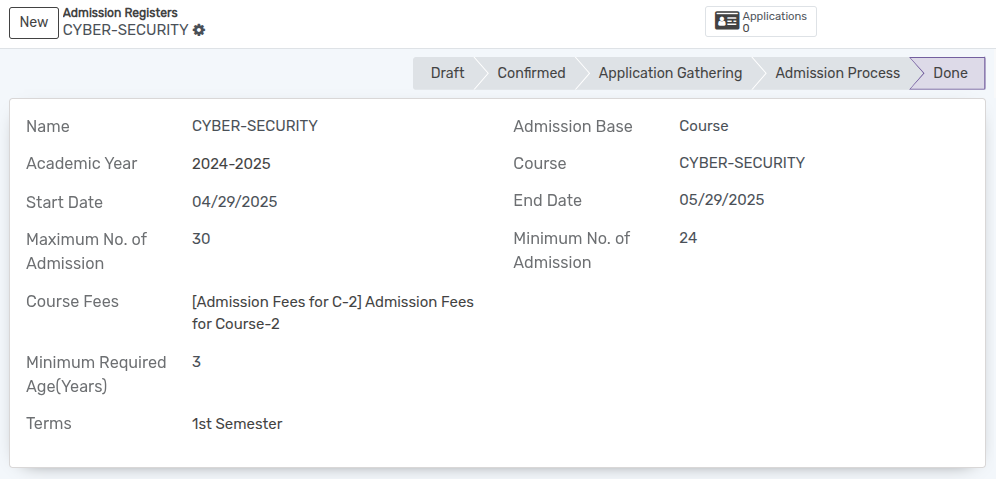
Name :- Provide appropriate title for the admission Register.
Admission Base :- Selection field to determine whether the admission is based on a program or a course.
Course :- Select the course from the list of courses.
Start Date :- By default today’s date appears here.
End Date :- By default one month later date appears here.
Course Fees :- Select Course fees. Its like a service product.
Minimum No. of Admission :- Min no. of admissions for particular course can be specified.
Maximum No. of Admission :- Max no. of admissions for particular course can be specified. By default it displays 30.
Minimum Required Age(Years) :- Specifies the minimum age, in years, that an applicant must be to qualify for admission.
Terms :- Select the term from the list.
Applications Button :- It provides a quick way to view all the applications linked to a specific Admission Register. It displays the total number of applicants and allows users to navigate directly to the list of applications.

Admission Base on Program Configuration
Select Program in the Admission Base field.
Configure fees for the program in the Admission Fees Configuration section
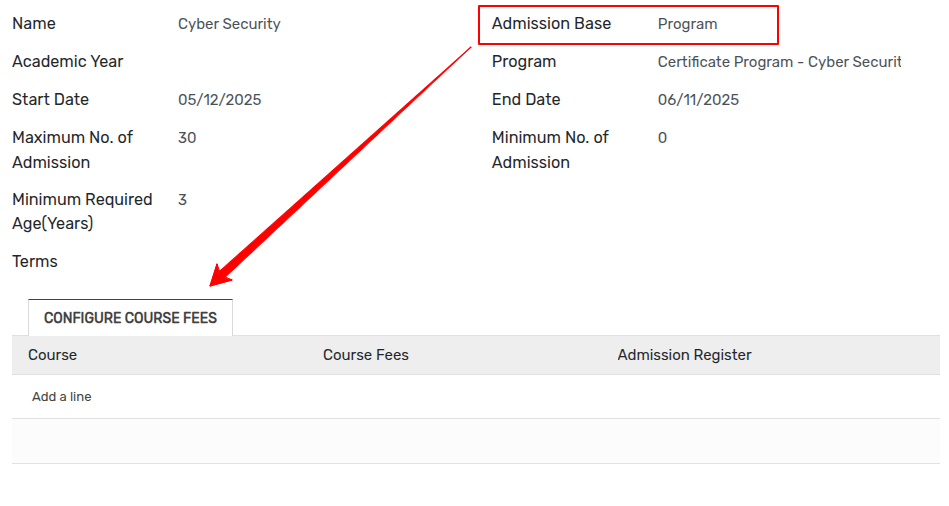
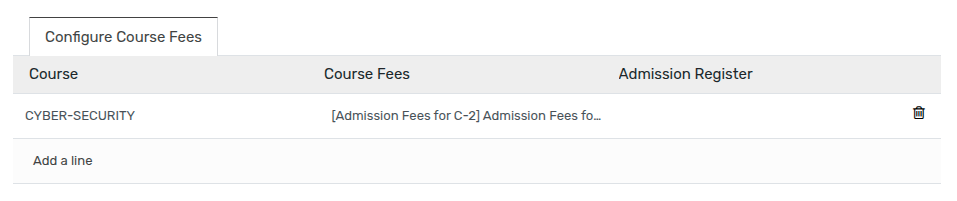
Click on the
Add a linebutton to configure course fees.Select the course from the list of courses and fees.
Flujo de trabajo de registro de admisión
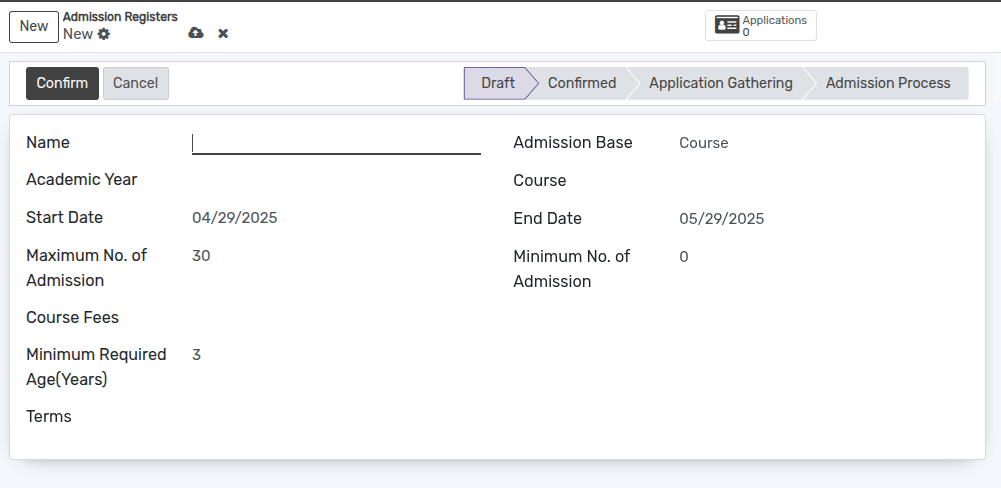
Inicialmente, el flujo del registro de admisión comienza con el estado de borrador.
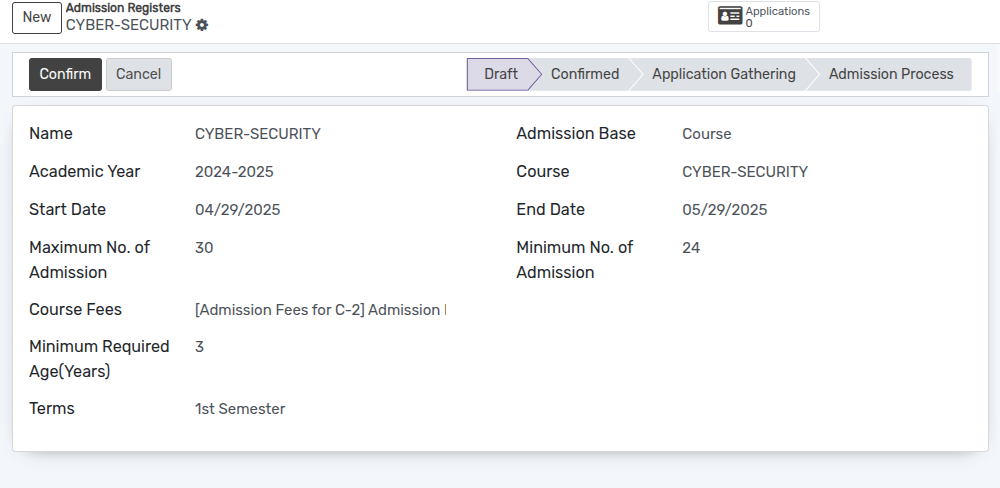
Haga clic en el botón
Confirmarpara confirmar el Registro de Admisión.Si desea cancelar el registro de admisión haga clic en el botón
Cancelar.
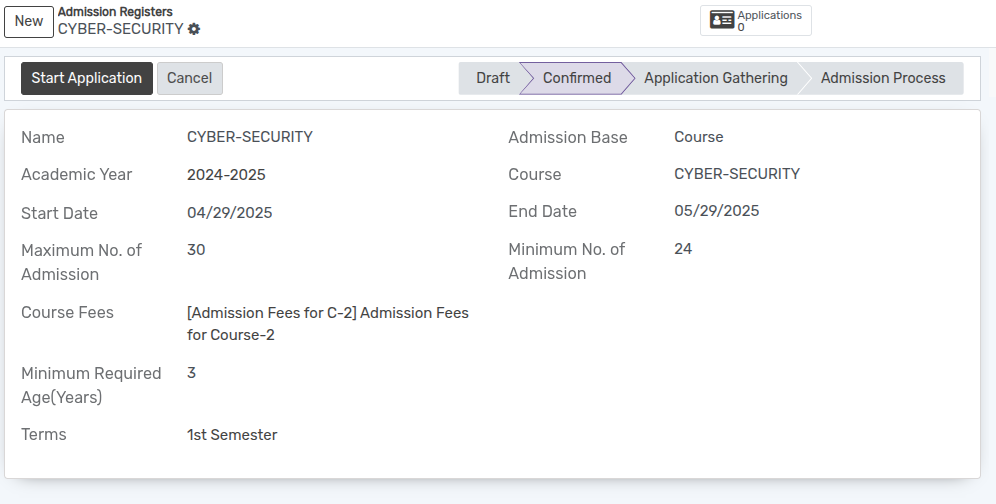
Haga clic en el botón
Iniciar solicitudpara comenzar a recibir la solicitud de los estudiantes.
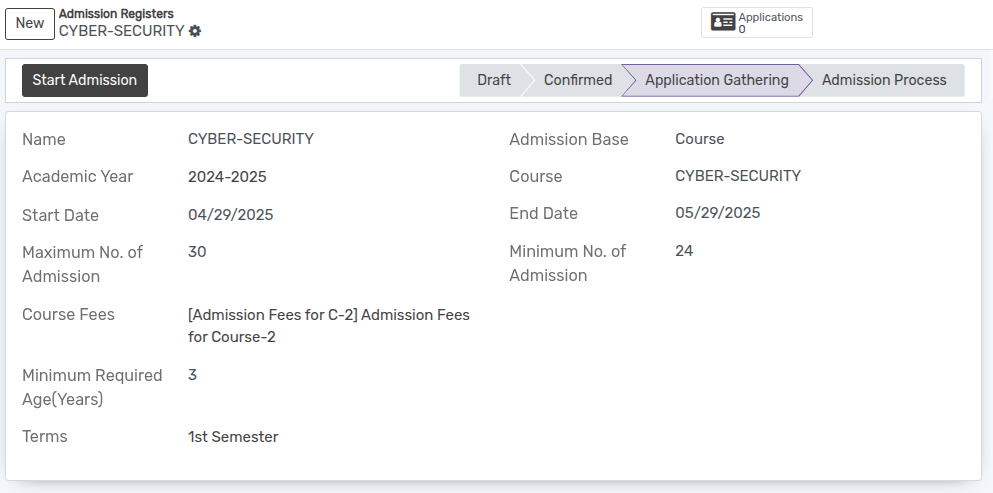
Ahora las Admisiones se pueden crear/seleccionar en un Registro de Admisiones particular.
Luego haga clic en el botón
Iniciar admisiónpara iniciar el proceso de admisión del estudiante.

Una vez finalizada la inscripción de estudiantes, haga clic en el botón
Listo. El estado cambió al estado Listo.