Trabajo
La función OpenEduCat Job proporciona colocación para los graduados.
Configurar tipo de trabajo
La configuración del tipo de trabajo en Gestión de ubicaciones permitirá al usuario crear opciones de tipo de trabajo, p. Trabajos a tiempo completo, a tiempo parcial y autónomos. Para configurar el tipo de trabajo, siga los pasos a continuación: -
Go to .
Click on New to create a new job type.
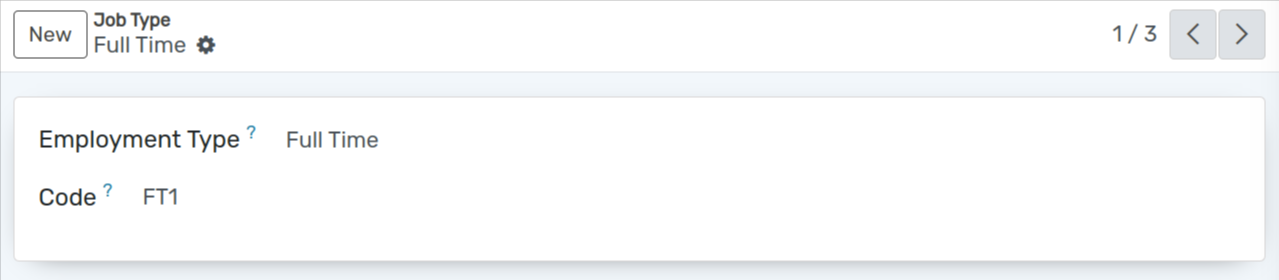
Detalles del formulario de tipo de trabajo
Employment Type :- Set the name of the Employment Type.
Code :- Set the code of the Employment Type.
Configurar categoría de habilidades
La configuración de la categoría de Habilidades en Gestión de Colocaciones proporciona detalles de la Categoría de Habilidades Laborales. Para configurar la categoría de habilidad, siga los pasos a continuación: -
Go to .
Click on New to create a new skill category.
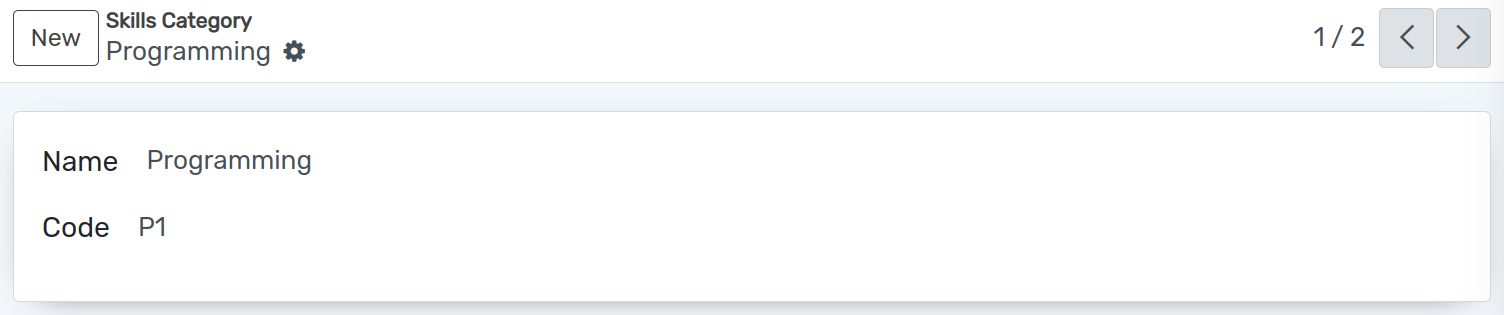
Detalles del formulario de categoría de habilidad
Name :- Set the name of the Skill Category. It will be displayed in whole system.
Code :- Set the code of the skill category. Unique code for skill category.
Configurar habilidades
La Configuración de Competencias en Placement Management nos ayuda a proporcionar el detalle de las competencias y habilidades para el puesto de trabajo.
Go to . Click on New to create a new skill.

Detalles del formulario de habilidades
Name :- Set the name of the Skill. It will be displayed in whole system.
Code :- Set the code of the skill. Unique code for skill.
Skill Type :- Select the skill category for whom the skill is created.
Publicación de empleo
OpenEduCat proporciona una función para publicar el trabajo para su colocación.
Go to .
Click on New to create a new job post.
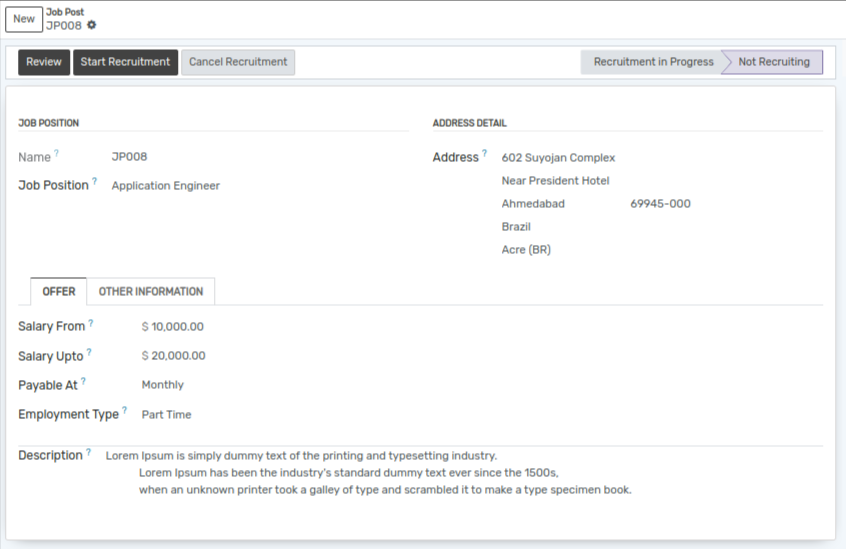
Detalles del formulario de publicación de empleo
Name :- Name is the unique Job Post name.
Job Position :- Set the name for the job position.
Address :- You can add details like street, city, state, nation, zip code and country in the provided fields.
Salary From :- Set the starting salary for the job.
Created By :- Select the option who created the job.
Salary Upto :- Set the ending salary for the job.
Payable At :- Set the salary pay structure either weekly, monthly or yearly.
Start Date :- Set the start date for the job post from which the applicant can apply.
End Date :- Set the end date for the job post till which the applicant can apply.
Estimated New Employees :- Set the number of the estimated new employees for the created job post.
Employment Type :- Select the employment type i.e. Full time, Part Time, Freelancing.
Skills :- Select the skills required for this job post.
Description :- Set the description for the job post.
Flujo de trabajo de la publicación de empleo
Una vez que se completan los detalles en el formulario de publicación de trabajo y se guarda, el estado es «Borrador». El flujo de trabajo de este formulario se inicia desde aquí.
Haga clic en el botón Iniciar contratación para iniciar la contratación para el puesto de trabajo creado. Esto cambia el estado del registro de «Borrador» a «Reclutamiento en curso». Una vez que hacemos clic en el botón Iniciar reclutamiento, este puesto de trabajo creado se puede mostrar en
Anuncio de actividaden el módulo de Colocación.Haga clic en el botón Detener contratación si se completa la contratación para el puesto de trabajo creado. Cambia el estado de «Reclutamiento en curso» a «Sin reclutamiento». Cuando hacemos clic en el botón Detener contratación, esta publicación de trabajo se eliminará del
Anuncio de actividaden el módulo de Colocación.
Solicitante de empleo
Estos puestos de trabajo creados se muestran en el menú Trabajo del campus en el sitio web. Cualquier estudiante puede postularse para el trabajo iniciando sesión en su cuenta.
El primer estudiante iniciará sesión en su cuenta y irá al menú Trabajo del campus.
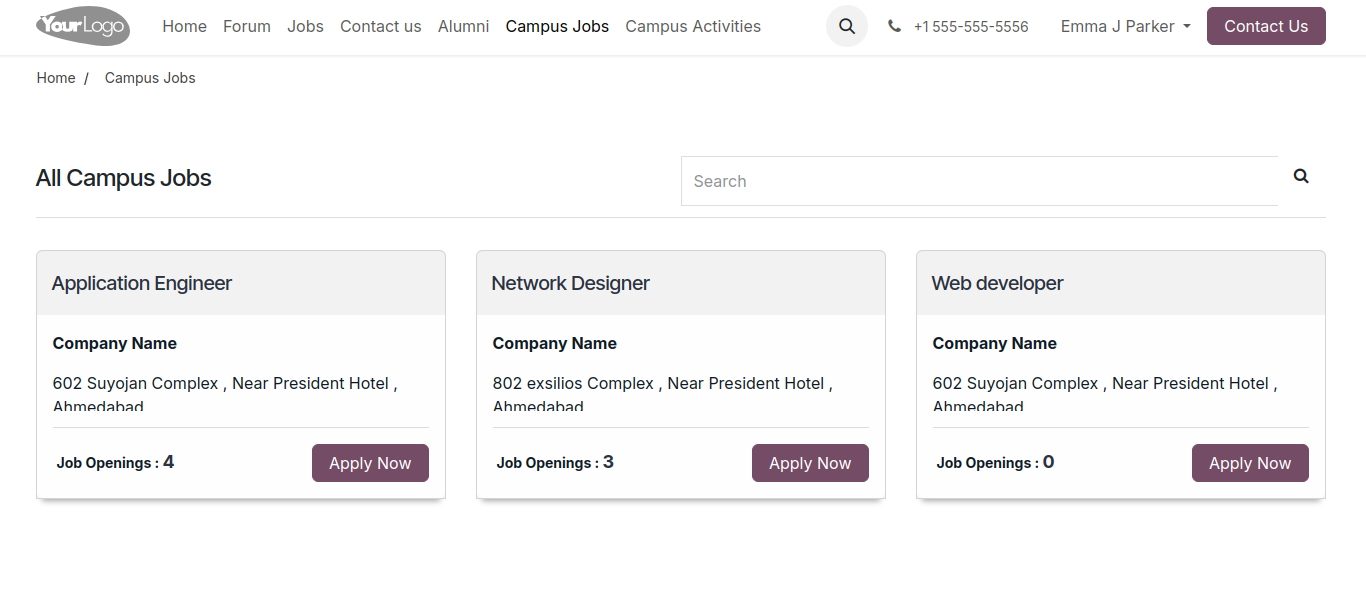
Then the student can apply for the job according to their skills and click on
Apply!button.
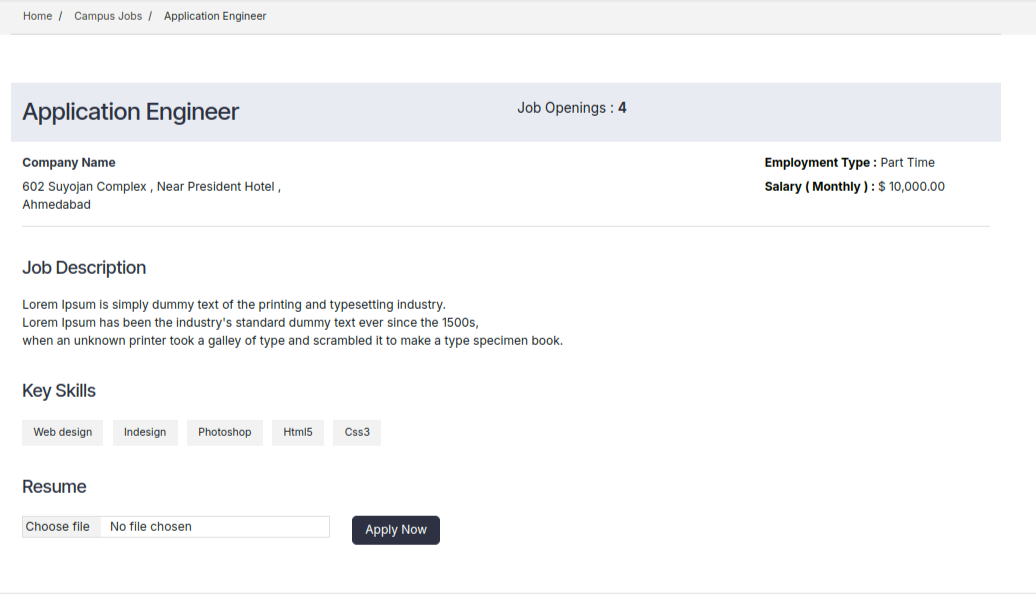
Then student can upload their documents to apply for the job and click on the
Apply Nowbutton.
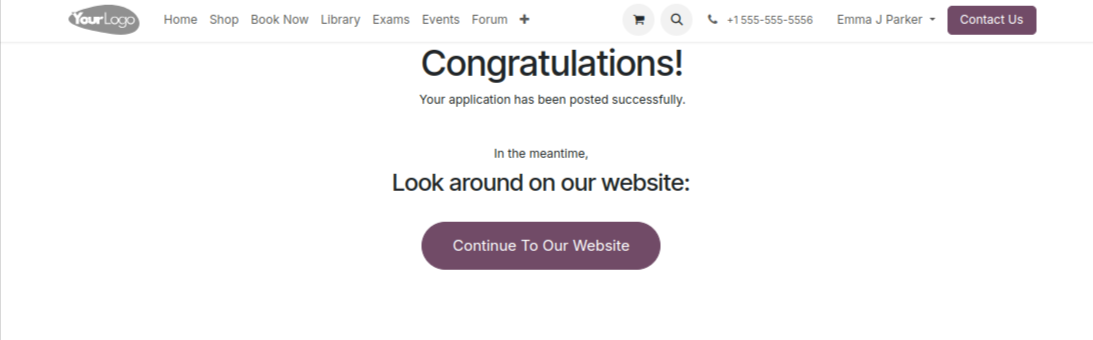
Luego se mostrará el mensaje de confirmación.
Admin can see the applicant under Applicant menu in the Job module.
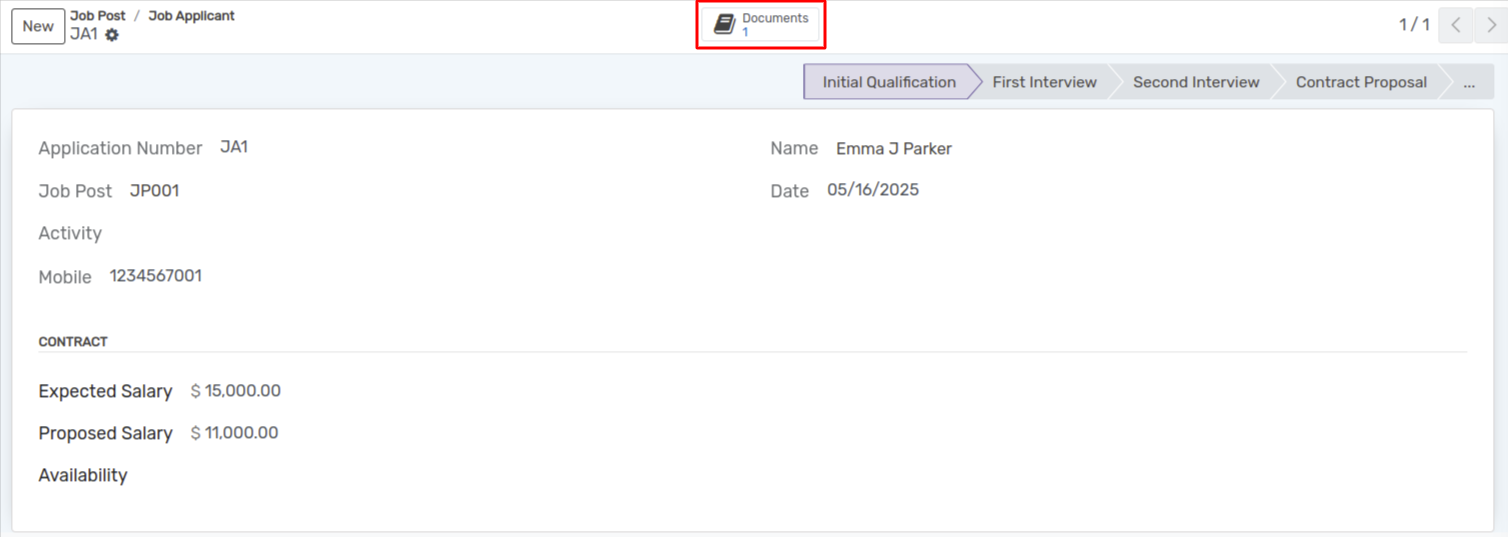
Click the Documents Smart button at the top to access the uploaded documents.
