
Alumni Event
OpenEduCat allows an institute to organise events for its alumni groups, such as reunions, sport meetings or annual functions. The events are managed with the regular Events application of Odoo and, in addition, they are attached to an alumni group so that they are listed on the public page of that group.
The feature is provided by the OpenEduCat Alumni Event module, which connects the Alumni application with the Events application of the website. Installing it adds an Events smart button on the alumni group form and an Our Events section on the alumni group page of the website.
Events of an Alumni Group
Go to Alumni ‣ Alumni Group and open the alumni group for which the event has to be organised. The Events smart button on the top of the form shows how many events are attached to that group.

Click on the Events smart button to get the list of the events of that alumni group.
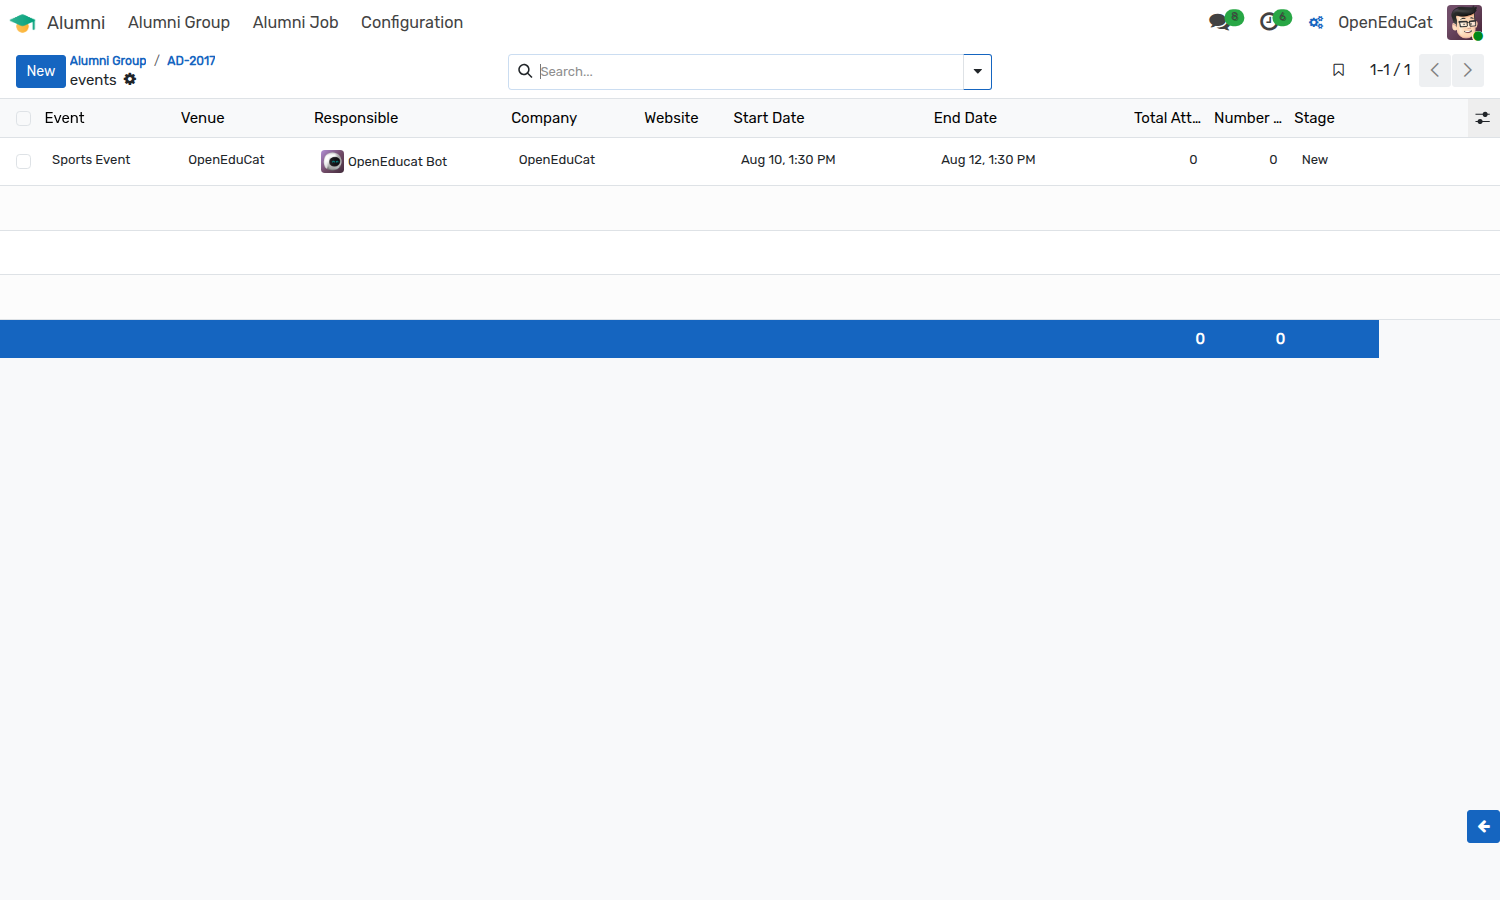
Click on New to create a new event for the group. An event created
from this button is linked to the alumni group automatically.
Note
Always create the event from the Events smart button of the alumni group. An event created directly from the Events application is not attached to any alumni group and is therefore not shown on the page of the group.
Details of the Event
Click on the event of the list to open it.
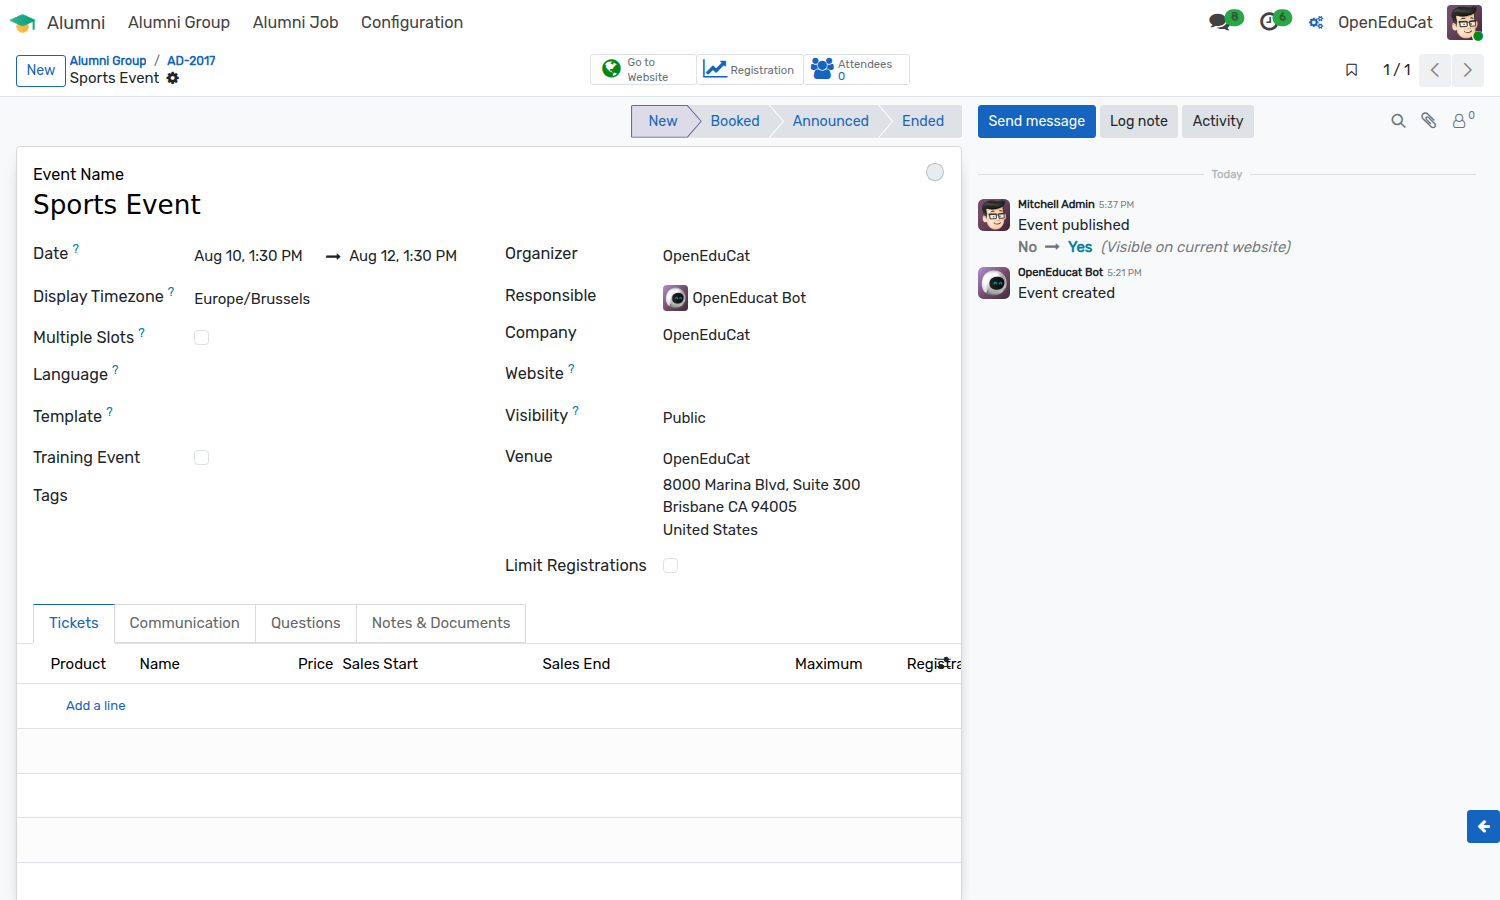
Event Name :- Set the name of the event. It is the title shown on the website.
Date :- Set the start date and the end date of the event.
Display Timezone :- The timezone in which the dates of the event are shown to the visitors.
Template :- Select an event template to fill in the tickets, the questions and the communication of the event automatically.
Tags :- Set the tags of the event. They are used by the visitors to filter the events on the website.
Organizer :- The contact which organises the event. It is shown below the name of the event on the alumni group page.
Responsible :- The user in charge of the event.
Website :- The website on which the event has to appear. Keep it empty to show the event on all the websites of the database.
Visibility :- Defines who can see the event on the website.
Venue :- The address at which the event takes place.
Limit Registrations :- Set this option to restrict the number of the attendees of the event.
Tickets :- Define the tickets of the event, with their price and the period during which they can be booked.
Communication :- Define the messages which are sent automatically to the attendees, for example the confirmation of the registration or a reminder before the event.
Questions :- Define the questions which are asked to the attendees while they register.
The stages New, Booked, Announced and Ended on the top of the form are used to follow the progress of the organisation of the event.
Publish the Event
Only the published events are shown on the page of the alumni group. Use
the Go to Website button of the event and switch it to Published,
or set the publication from the website itself.
Event on the Website
Go to the website and open the Alumni menu. The alumni groups of the institute are listed there.
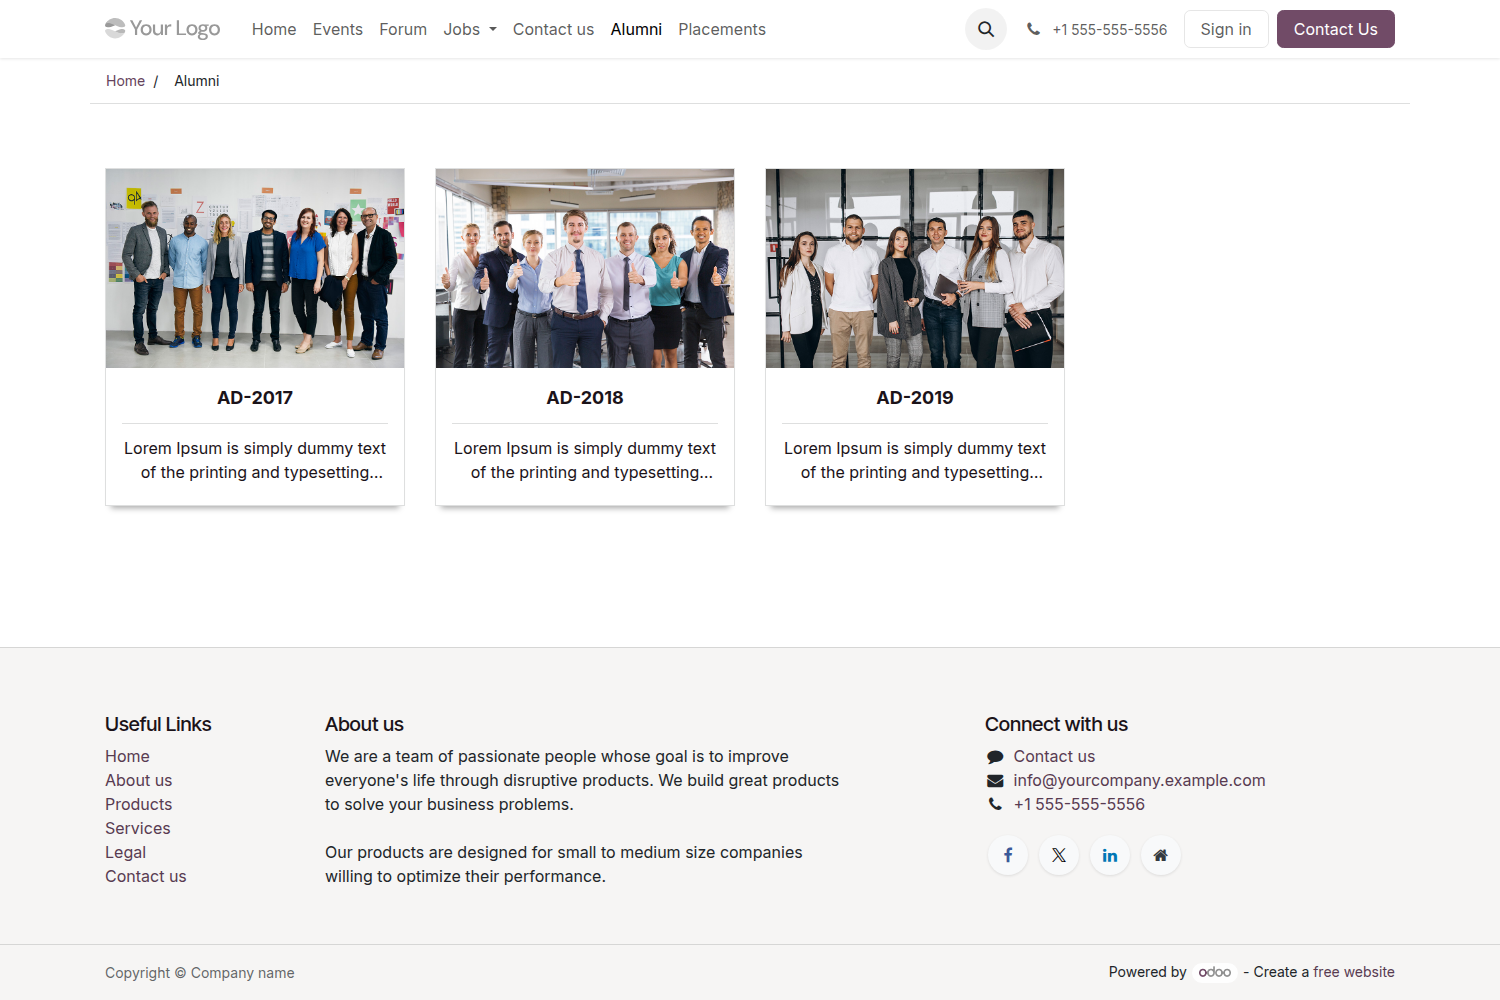
Click on an alumni group to open its public page. The bottom of the page shows an Our Events section with the published events of that group, and an Our Forum section with the forum of the group.
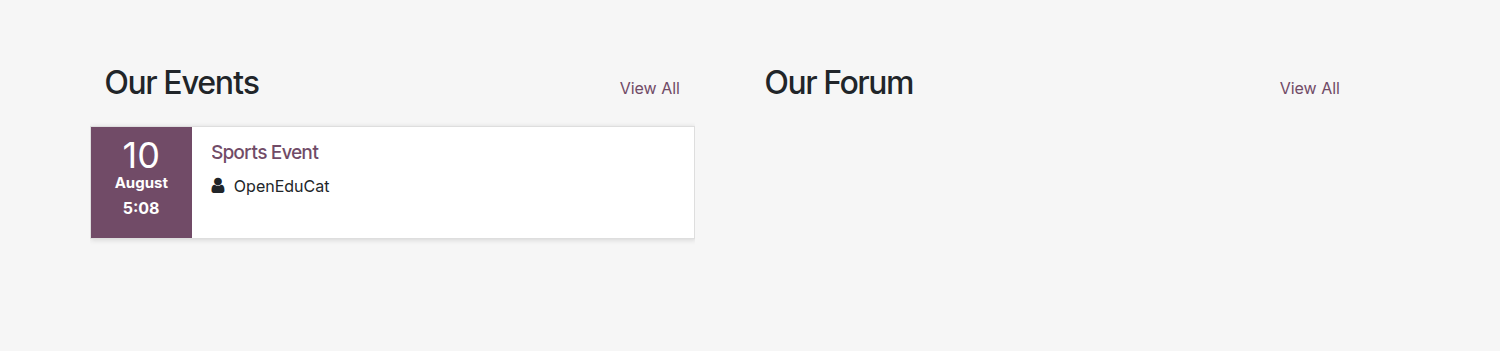
Every entry of the Our Events list shows:
Date :- The day, the month and the hour at which the event starts, shown on the left of the entry.
Name :- The name of the event. Click on it to open the page of the event.
Participating :- A badge shown when the connected visitor is already registered for the event.
Organizer :- The contact which organises the event.
Event Type :- The type of the event, when one is set.
The View All link on the top right of the section opens the Events
page of the website, where all the events of the institute are listed.
The Our Forum section lists the forum which is created for the alumni
group with the Create Forum button of the group, with its creation
date and its number of posts. Its View All link opens the Forum
page of the website.
Register for an Event
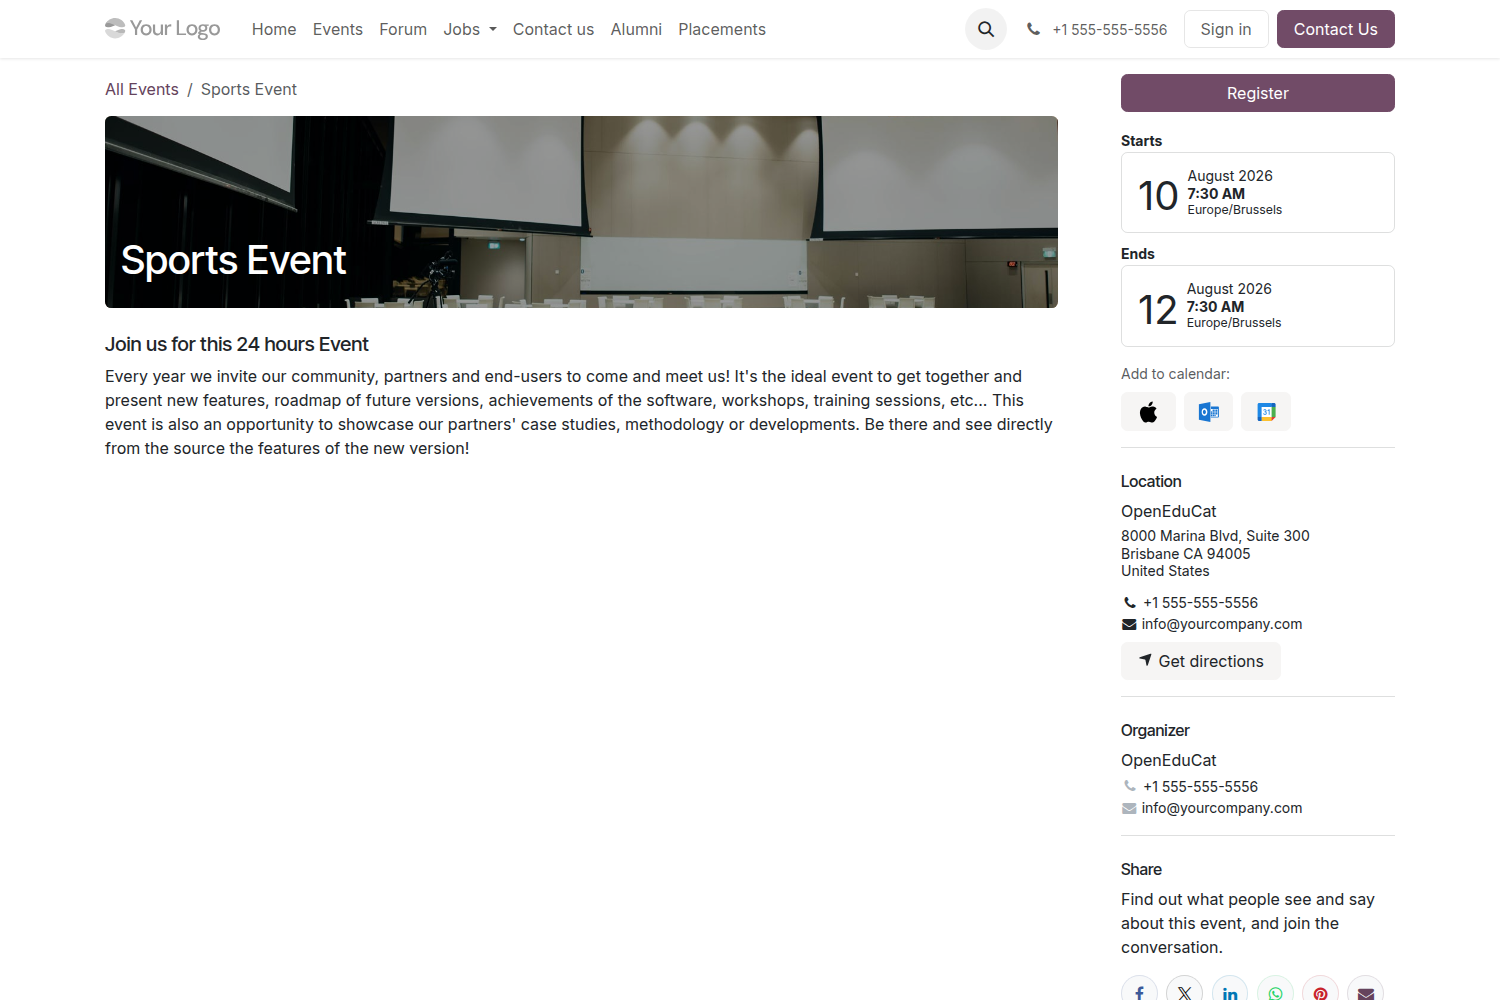
Click on the name of an event to open its page. The visitor finds there
the description, the dates, the location and the organizer of the event,
and can book a place with the Register button.
The registrations are shown back in the backend on the Attendees smart button of the event.