How To Configure Google Meet
Configuration steps for Google Meet
Go to console.cloud.google.com and Login with your Google account.
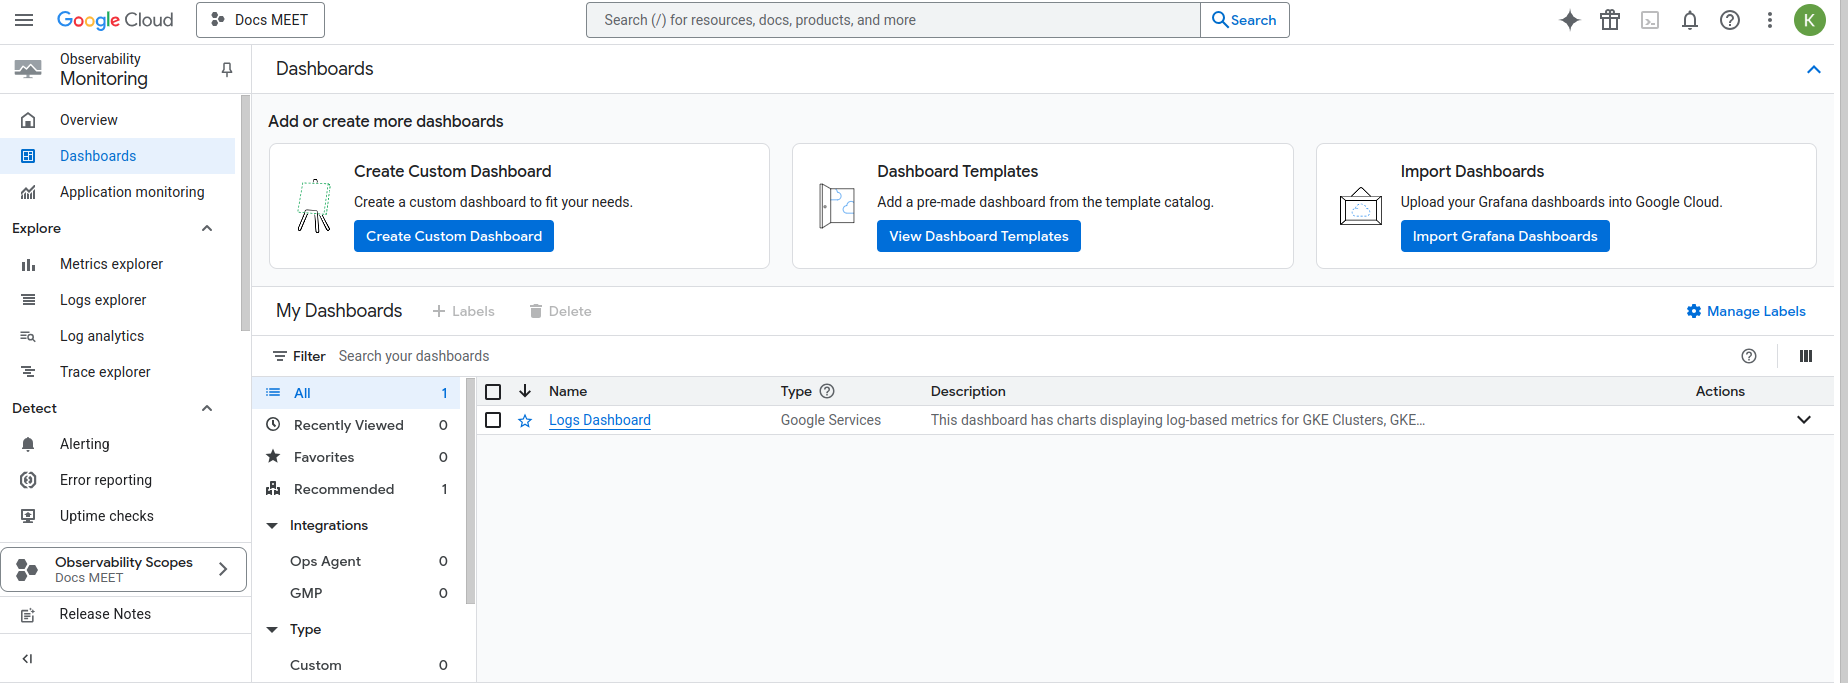
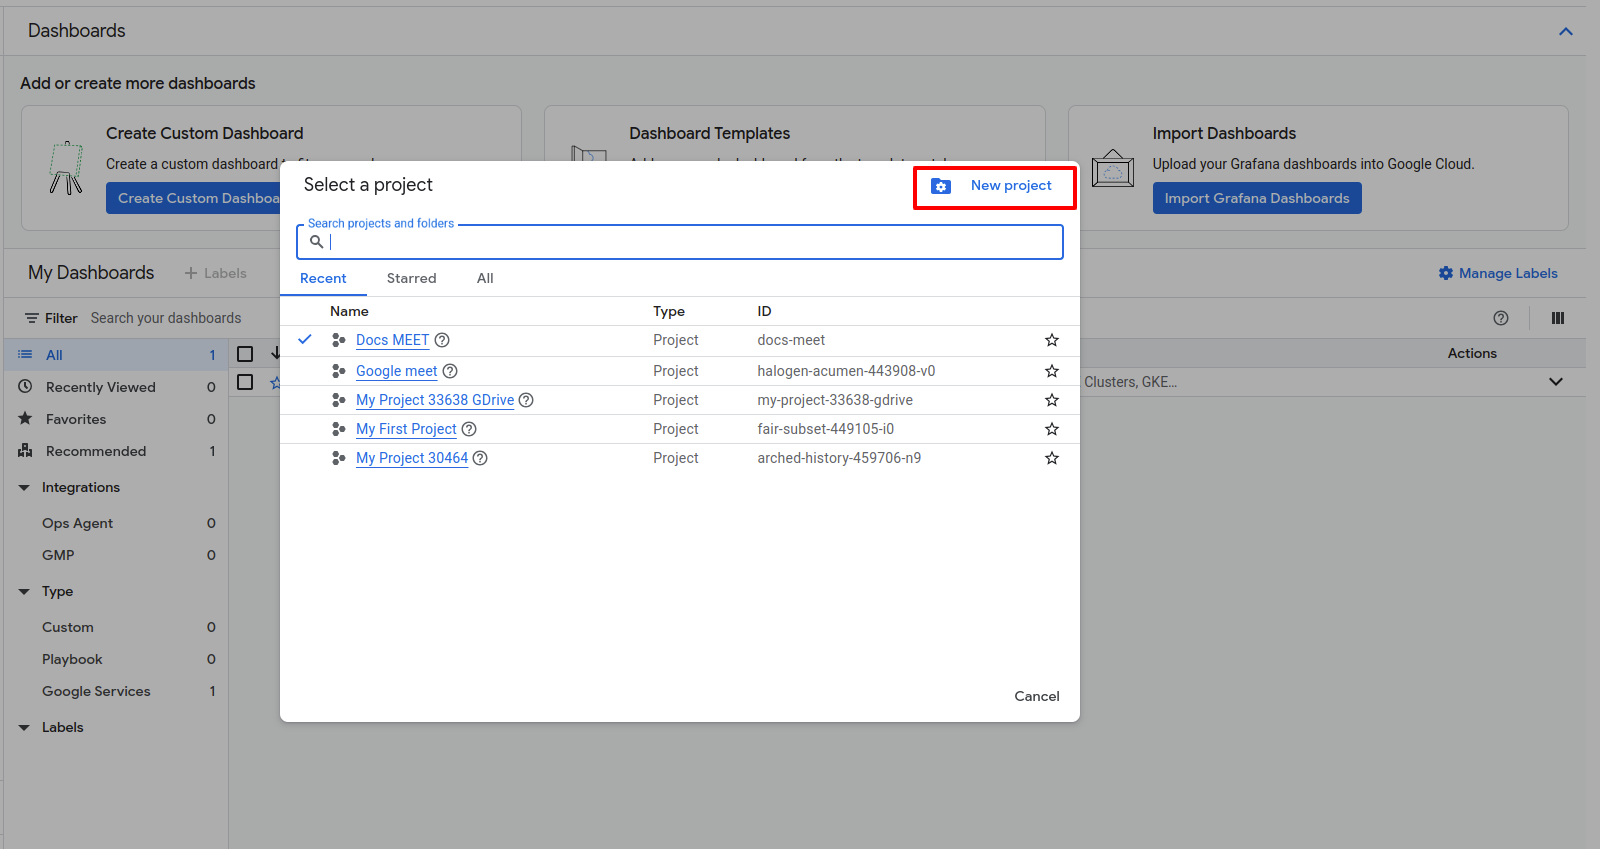
Click on Select a Project at top-bar and click on New Project.
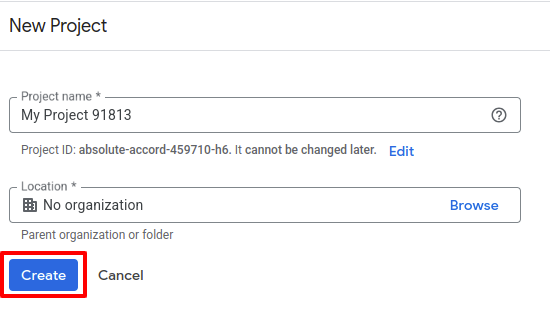
Fill out the Project name and click on Create button.
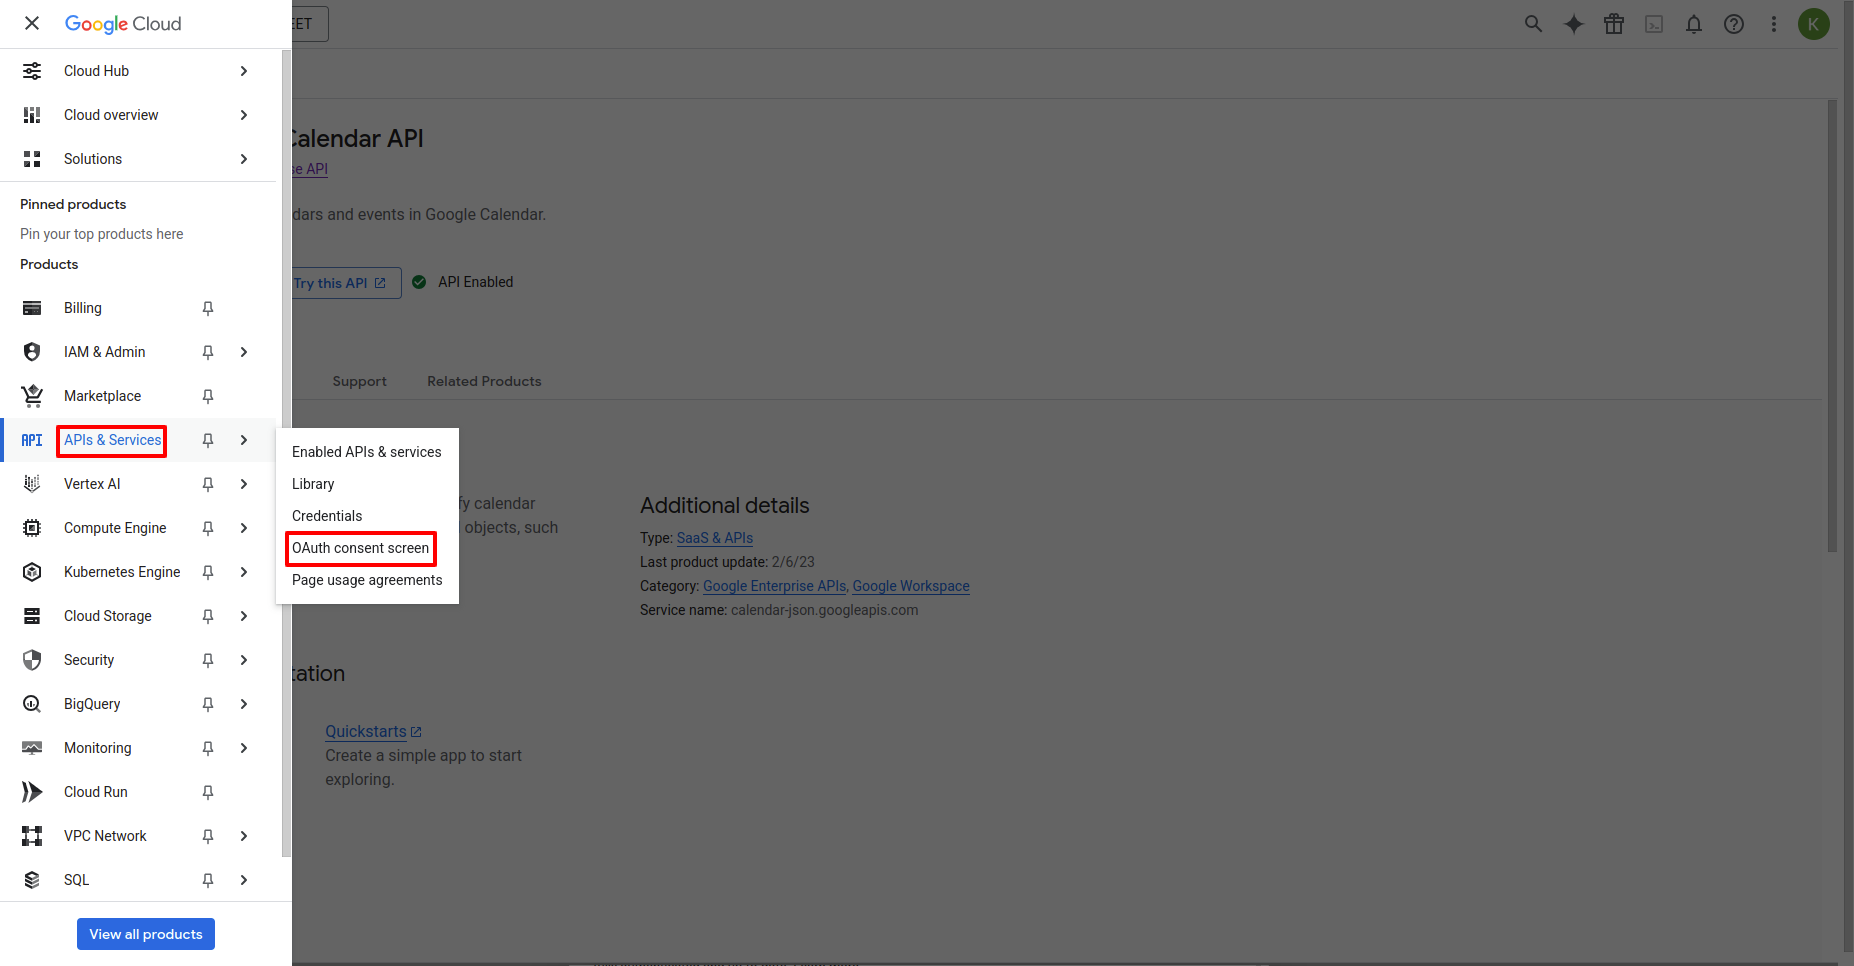
Click on API’s & Services –> Library, and select your Project.
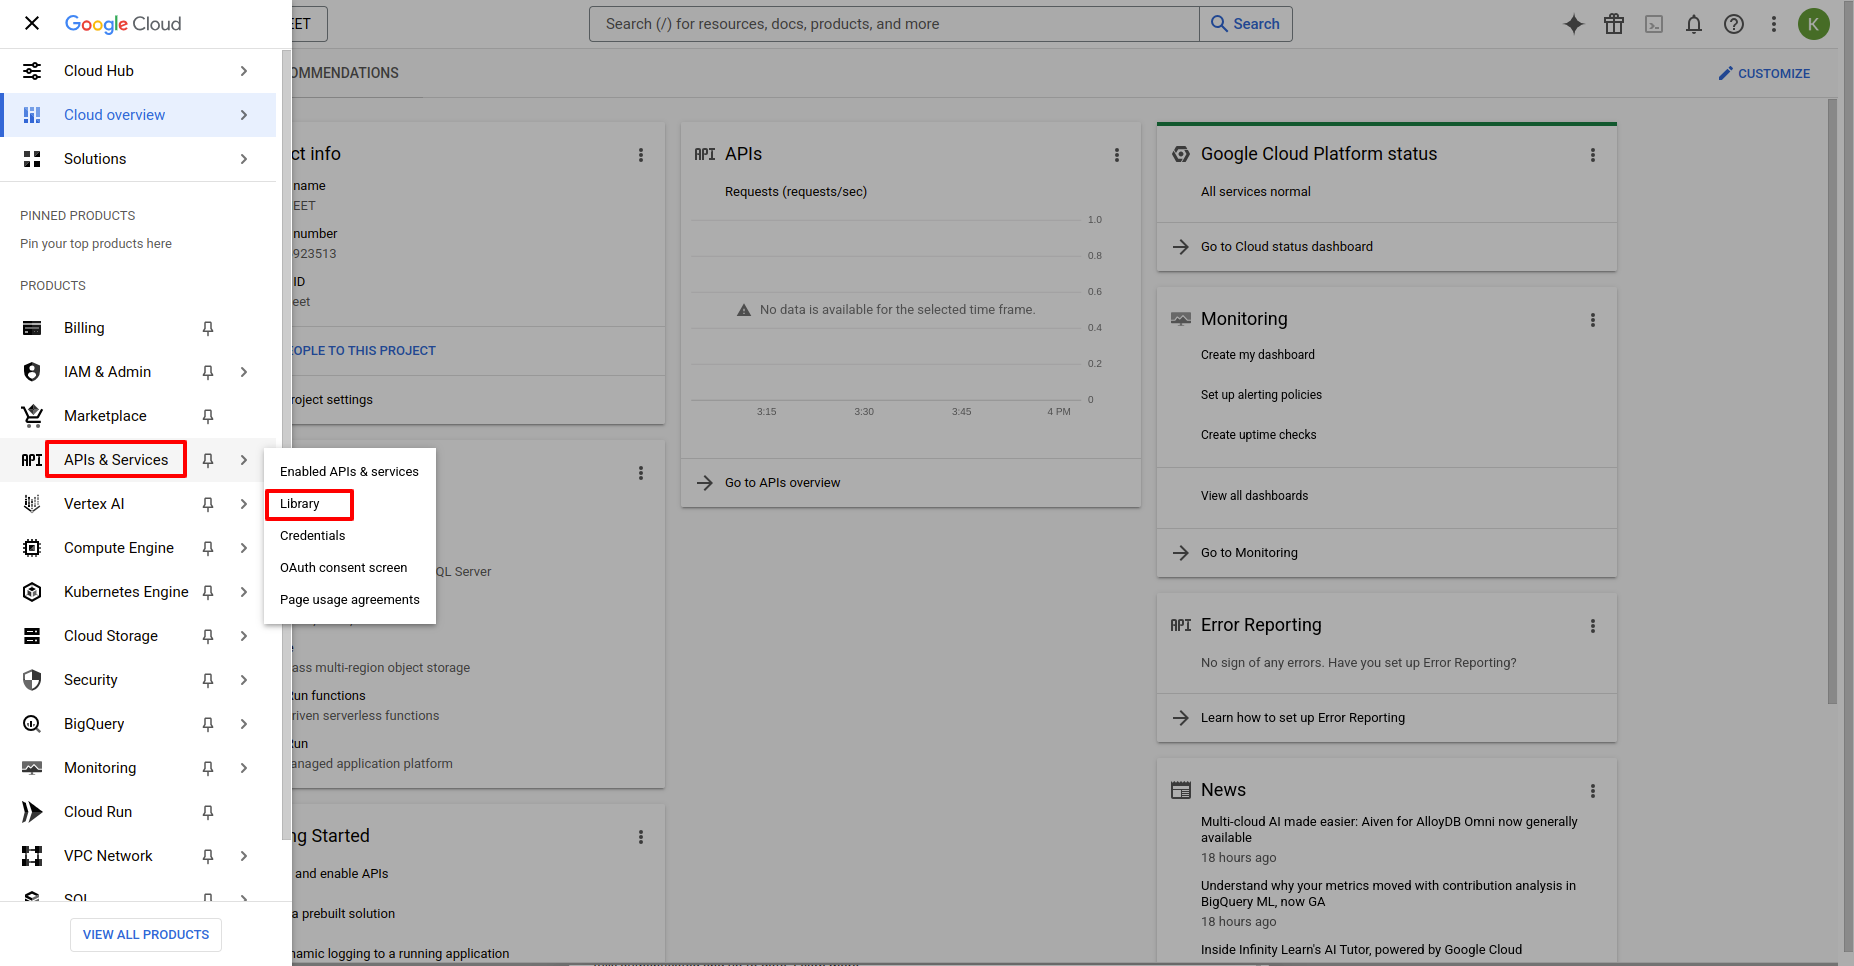
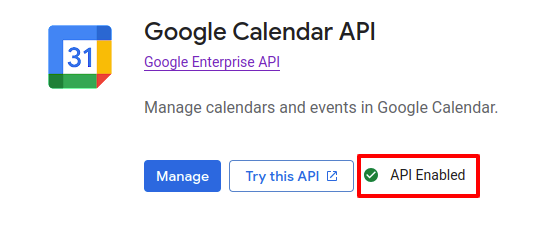
Search for Google Calendar API and enable it.
Click on API’s & Services –> OAuth consent screen.
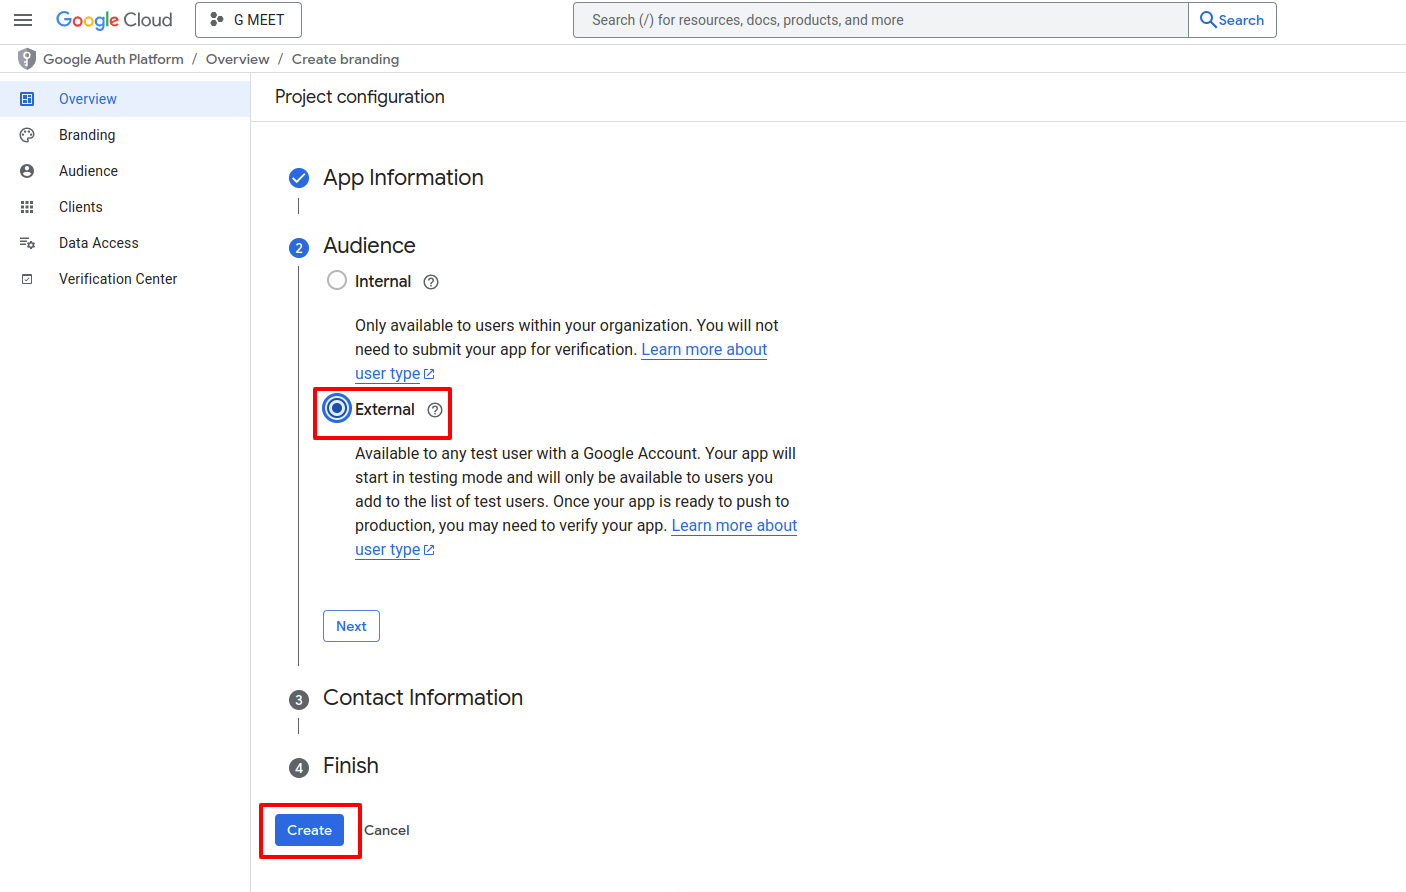
Select External User Type and click on Create.
Click on Credentials.
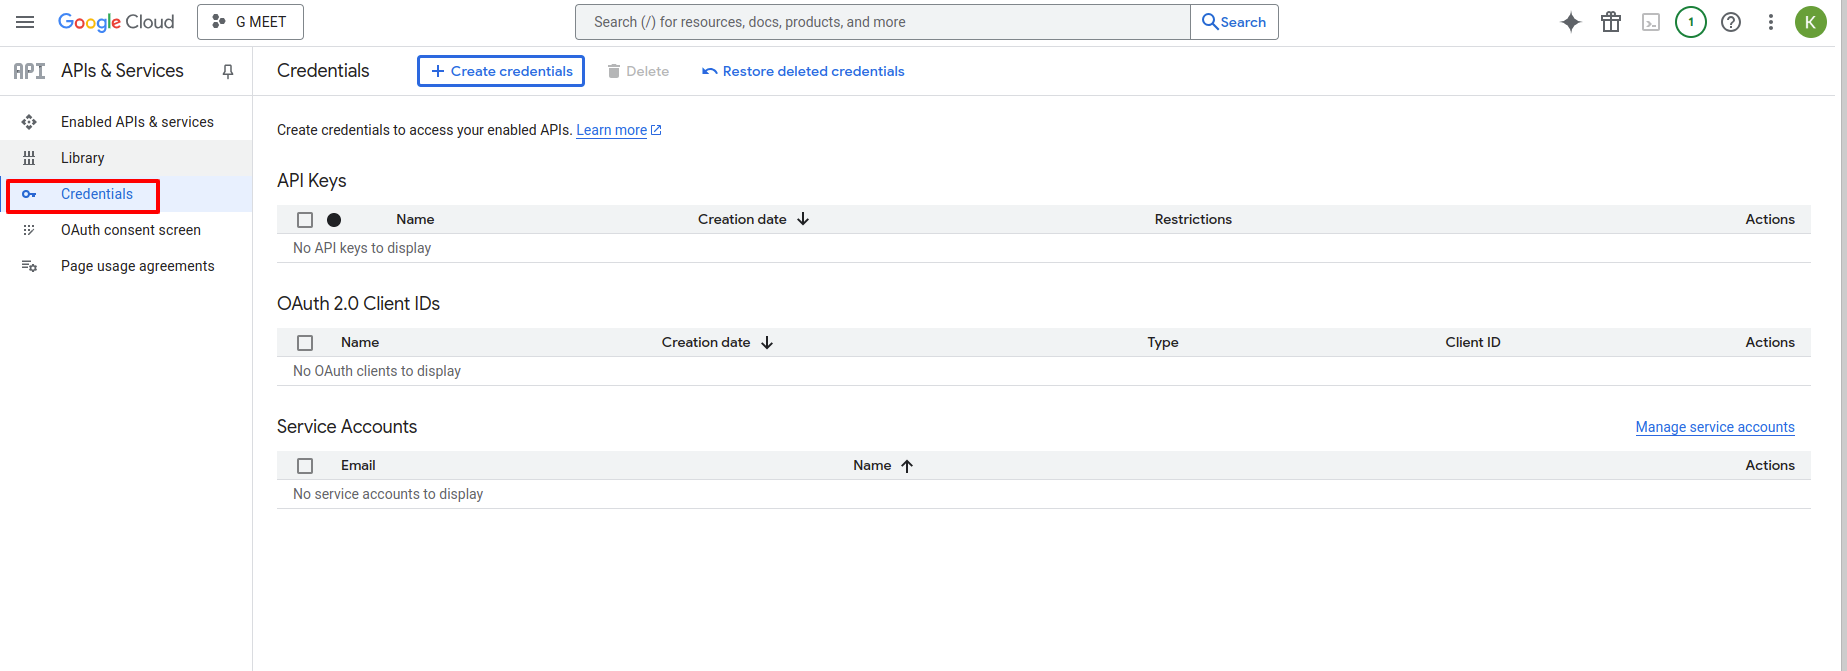
Click on CREATE CREDENTIALS –> OAuth client ID.

After click on OAuth client ID, one form will open.
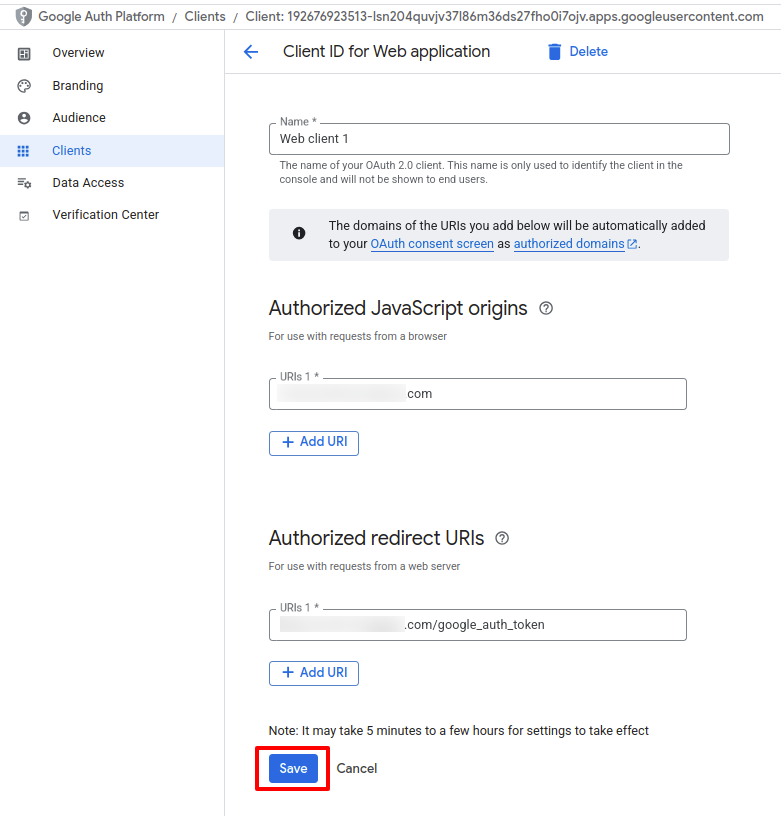
Application Type :- Select the application type from the list.
Name :- This name is only used to identify the client in the console and will not be shown to end user.
Authorized JavaScript origins :- Add redirect url.
Authorized redirect URIs :- Add Domain again in redirect url and append
google_auth_token.
After Fill the form click on Create
After click on Create OAuth client created.
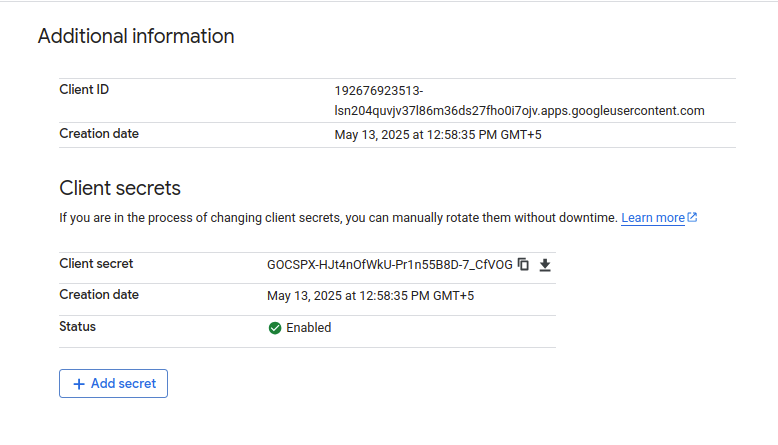
Save your both Client ID and Client Secret as it will be used further.