Course
OpenEduCat learning management system empowers you to build your online course by enabling the creation of courses and the inclusion of course materials.
Configure Course
To configure the course, follow the below steps :- Go to LMS. Click on
Create to create a new Course.
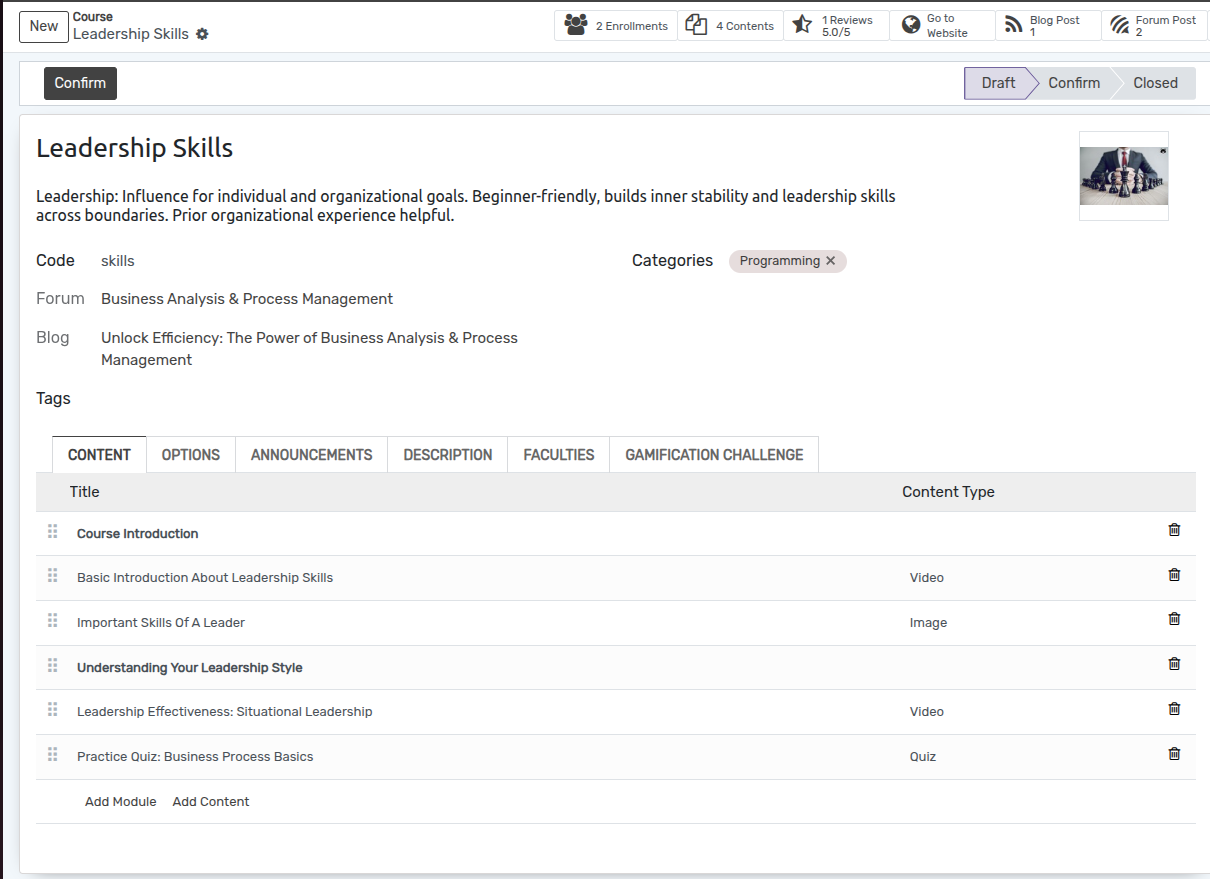
Details of Course Form
Name :- Name of the course. It will be displayed in whole system.
Code :- Code of the course. Unique code for course.
Short Description :- Short Description to explain about your course in short which describe your course.
Categories :- Add categories, In which category your course belongs to.
Tages :- Give a tag to your course .
Full Description :- Full description to describe which type of content your course includes and target audience or any requirement of knowledge for this course, you can describe it here.
Content :- You can add modules and contents under the course, Display sequence and time.
Options
Difference options for Your course
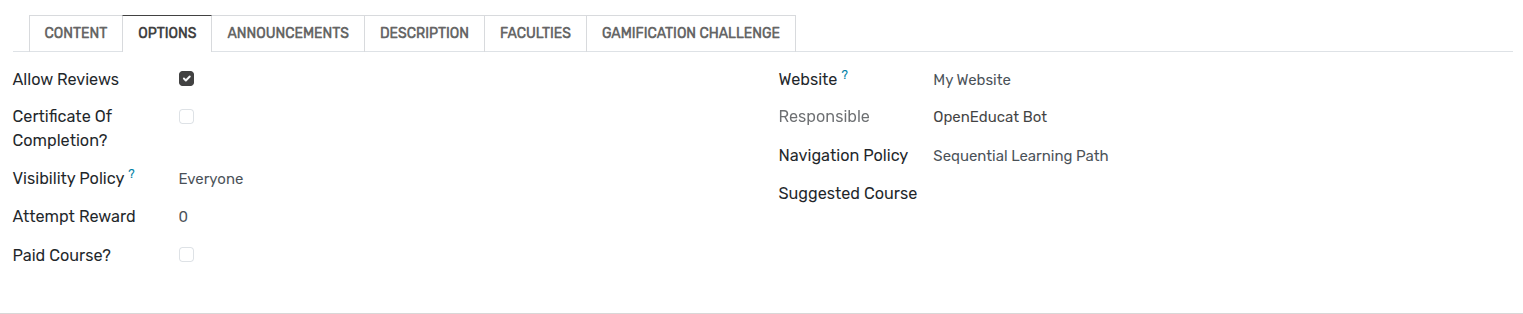
Allow Reviews :- If you want to review your course by users than it must be true
Certificate Of Completion :- To provide a certificate of course completion
Visibility Policy :- Visibility policy can be any of three 1. Everyone, 2. Logged in users, 3. Invited Users.
Attempt Reward :- How many time user attempt the course.
Navigation Policy :- Navigation Policy must any of two 1. Free Learning Path 2. Sequential Learning Path
Suggested Course :- Others course suggestions
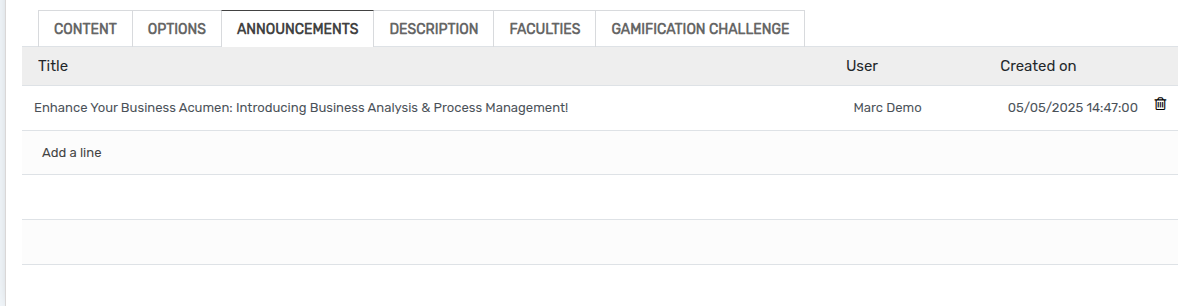
Announcements
To announce any updates for your course.
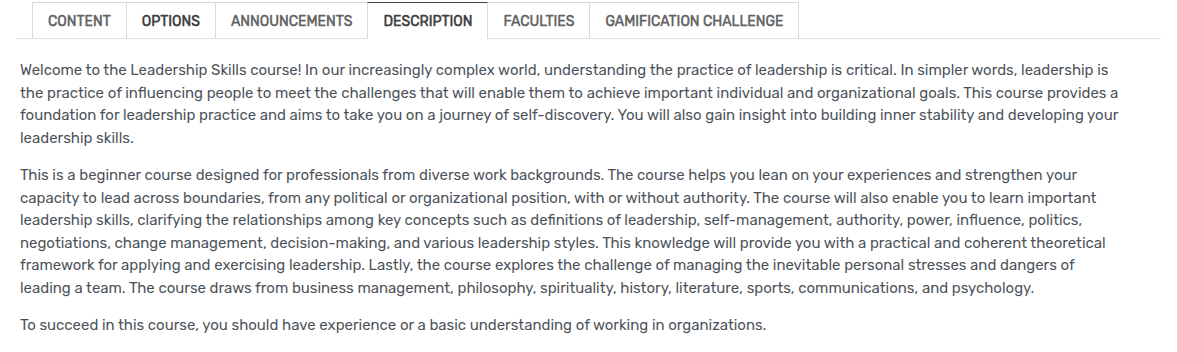
Description
Full description of Your course.
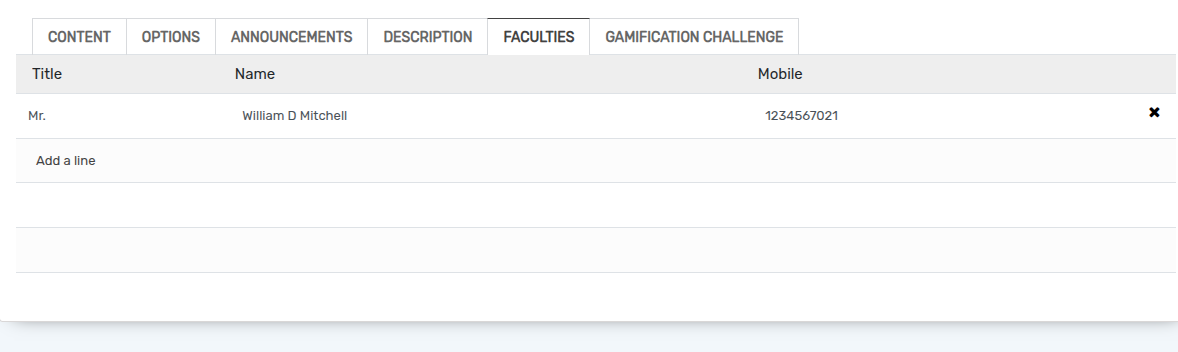
Faculties
List of faculties of the course.
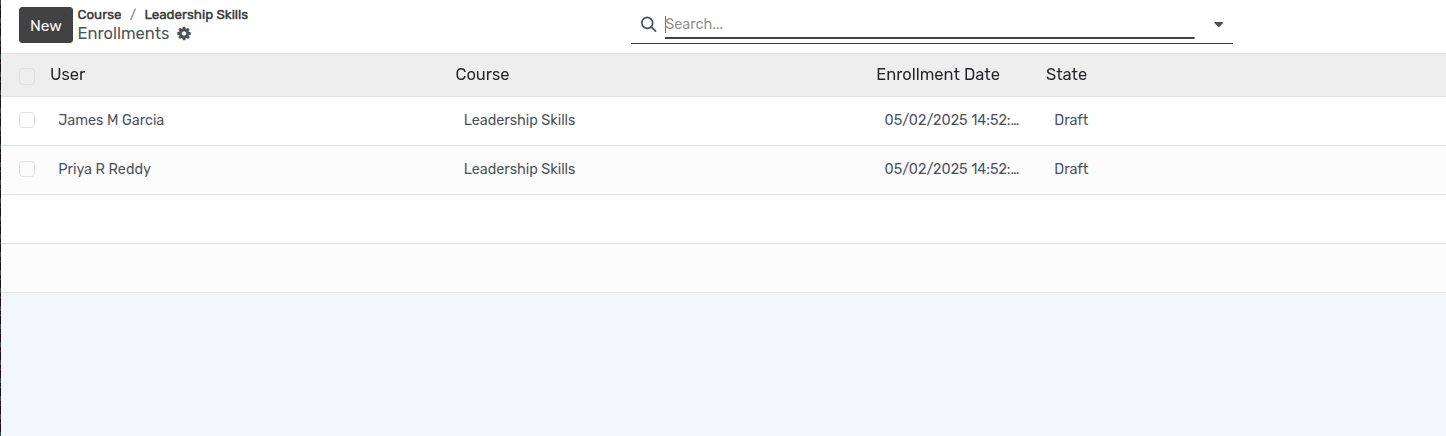
Enrollments
List of enrollments of the users who have enrolled for the course.

Contents
Contents which are created under the course


Reviews
Show all reviews of the course


Go To Website
By clicking on Go to website button, its redirect to portal side
course details page.

Configure Module(Add Module)
Create your course module to publish it online. Set your module name, add your module and publish it. To create the module, follow the below steps :-
Go to LMS ‣ content. Click on Add Module to create a new module.
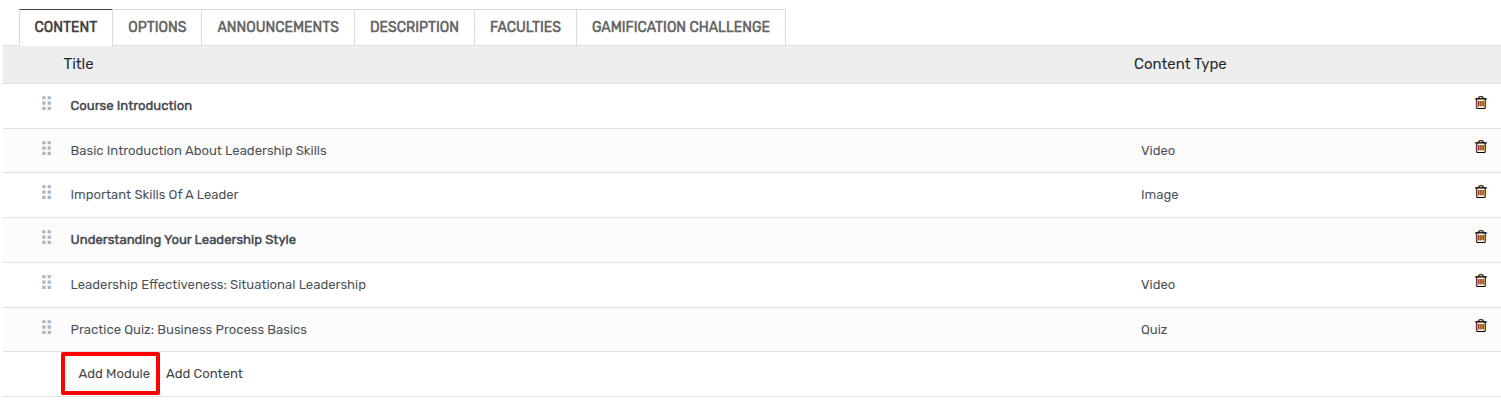

Name :- Enter the name of module which is the title of the content like Introduction or anything else.
Configure Content(Add content)
The content feature enables instructors to upload different types of content — such as videos, documents, or links — under specific modules of a course. This provides a flexible structure for delivering educational resources.
Go to LMS ‣ content. Click on Add content to create a new
module.
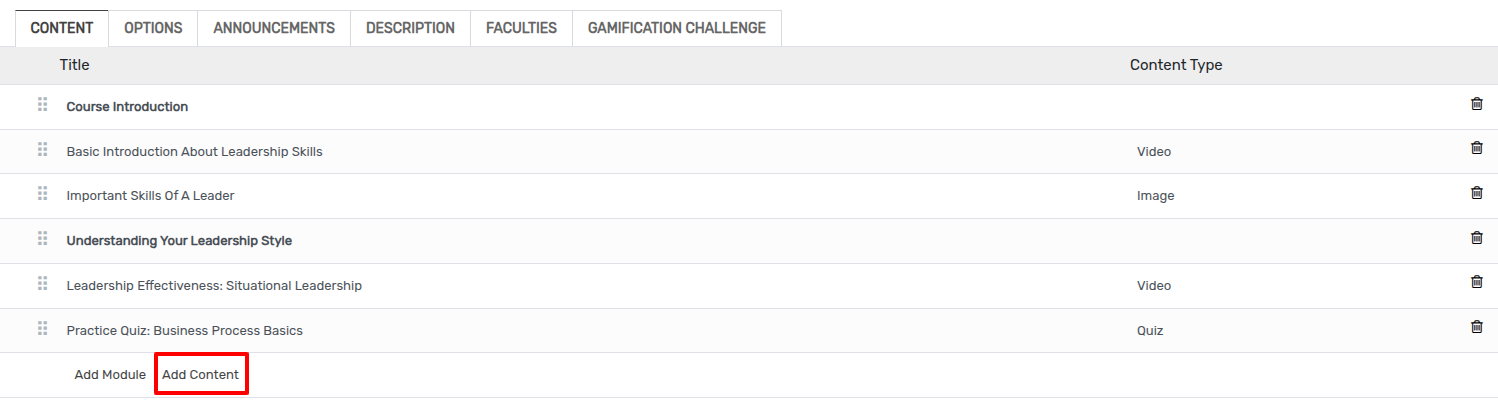
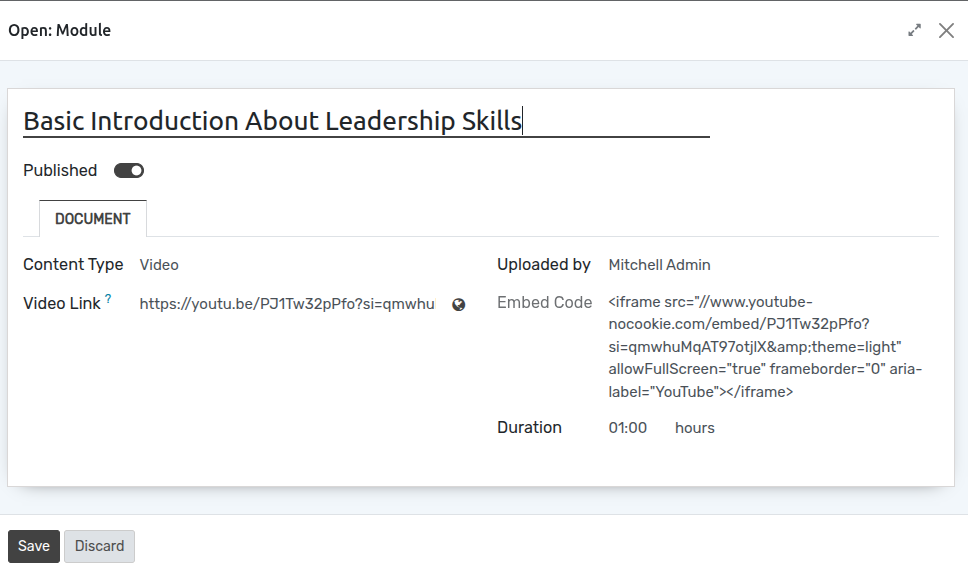
Details of Add Content Form
Name :- Name of the course content. It will be displayed in whole system.
published :- Content auto publish to users who has enrolled for that course.
Uploaded by :- logged in user name.
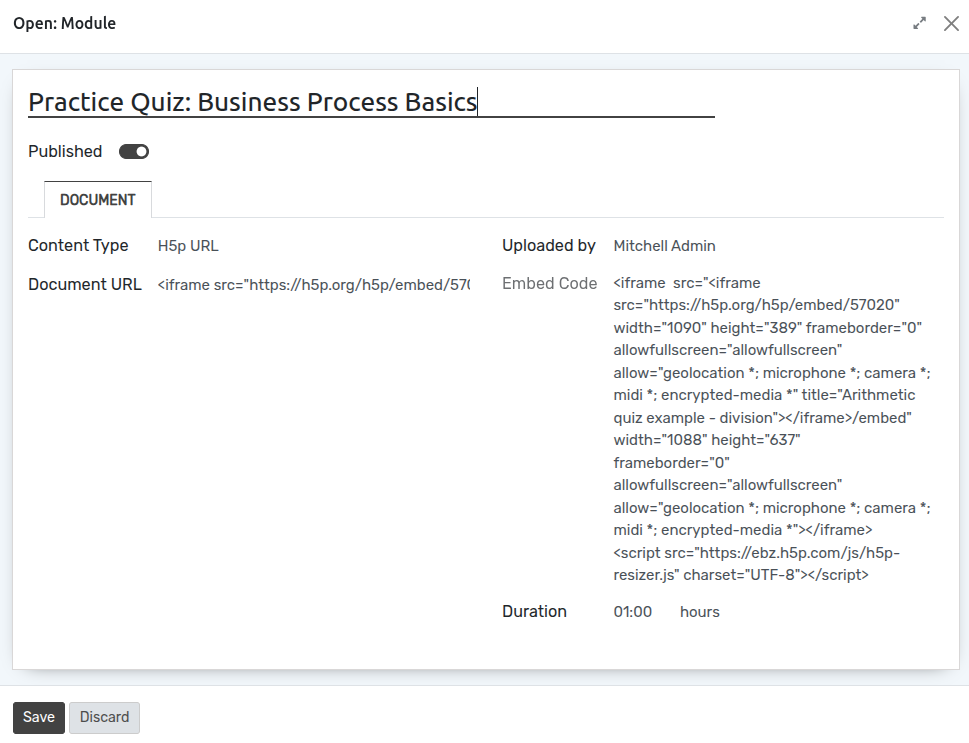
Content type :- select the appropriate type for the content
Duration :- Set time limitation to complate the particuler module
H5P
Configure h5p url
Go to LMS ‣ Content. Click on New to create a new content.
Configuration
Create your course categories to set categories on course. To create the category, follow the below steps :-
Go to LMS ‣ Configuration ‣ Category.