How To Configure Notice
OpenEduCat provides help to enhance the overall user system by providing options to send notice or circular to different groups or sections of people.
Configuration steps for Group
Student Group
Go to Notice Board ‣ Configuration ‣ Groups. Click on New to
create a new Group.
Details of Group
Admin and Faculties can create group for Notice and Circular.
Students Group
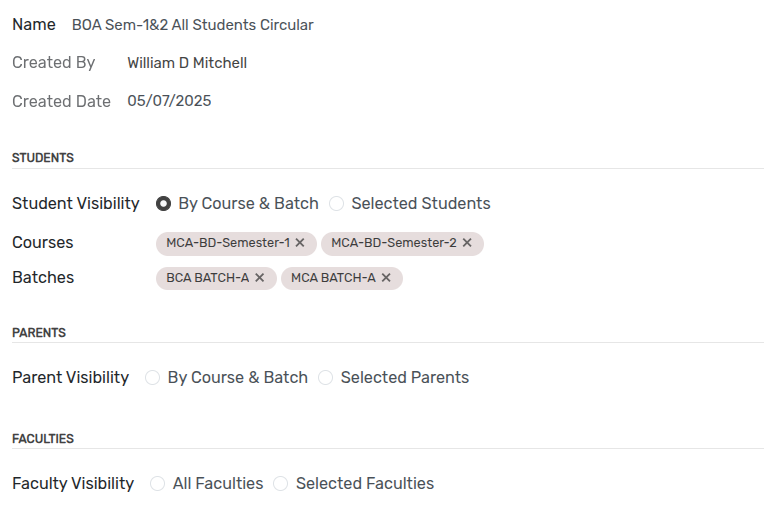
Name :- Set the name for the group.
By Course & Batch :- If this boolean is set, You can select Courses and their Batches to add all Students of selected batches for the Group.
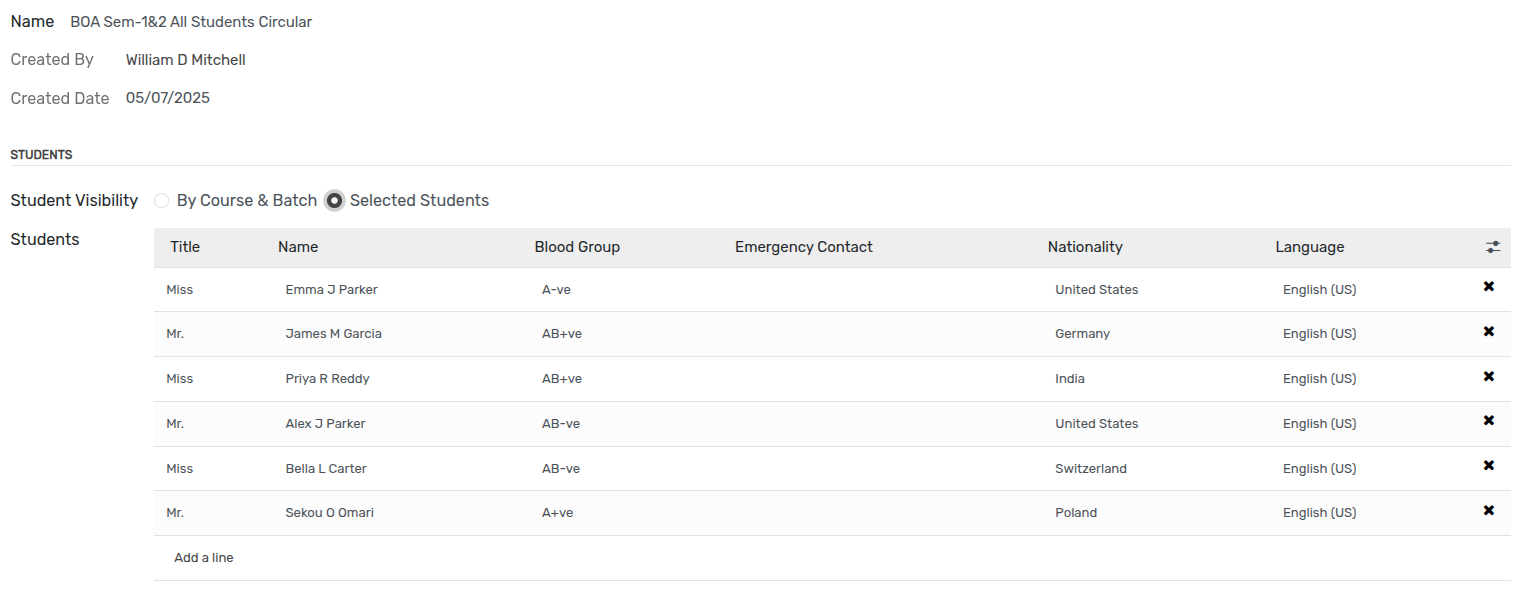
Selected Students :- If this boolean is set, You can select particular students for add to the Group.

By Course & Batch :- If this boolean is set, You can select Courses and their Batches to add all Parents of Students of selected batches for the Group.
Selected Parents :- If this boolean is set, You can select particular parents for add to the Group.
It’s same as Students Group Creation.
Faculty Group

All Faculties :- If this boolean is set, You can add all Faculties of institute for the Group.
Selected Faculties :- If this boolean is set, You can select particular faculties for add to the Group.
Configuration steps for Notice
Go to Notice Board ‣ My Notice ‣ Notices. Click on Create to
create a new Group.
Details of Notice
Admin and Faculties can create and publish notices.
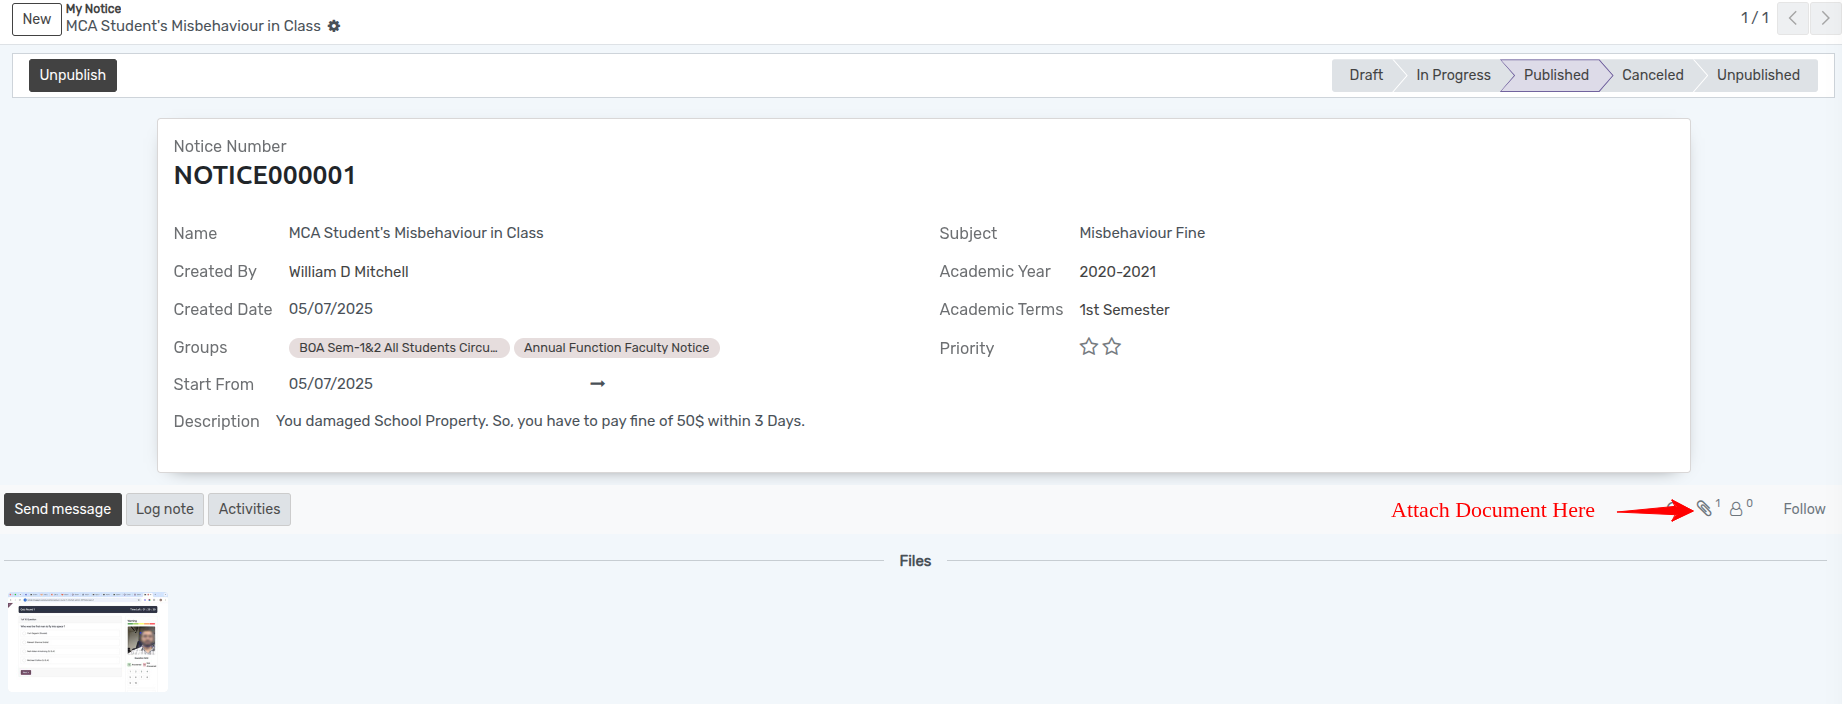
Notice Number :- It’s auto generated field for Notice Sequence.
Name :- Set the name for the Notice.
Subject :- Set subject for the notice.
Created By :- It’s auto generated field. It shows who create this notice.
Created Date :- It’s also auto generated field. It takes current date, when Notice Creates.
Groups :- Select group of people for send Notice.
Start From :- Select date of Starting that Notice -> date of Ending that Notice.
Academic Year :- Select Academic year. Academic Term :- Select Academic Term.
Priority :- Creator can give priority to show that notice on Top at Student’s and Parent’s Side.
Description :- Write description about Notice.
Workflow of Notice
Admin and Faculties can Publish Notice.
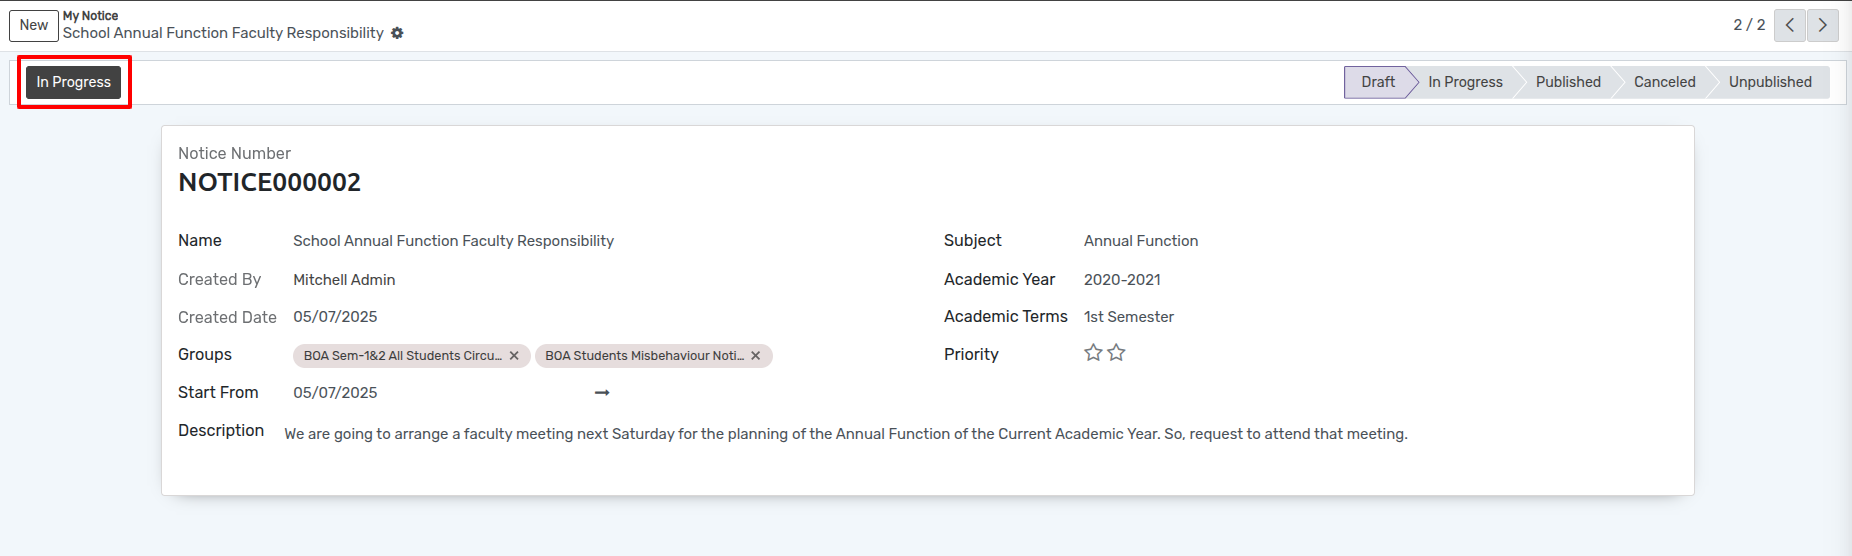
In Progress
Click on In Progress button to In Progress the Notice. This changes the state of notice from Draft to In Progress.
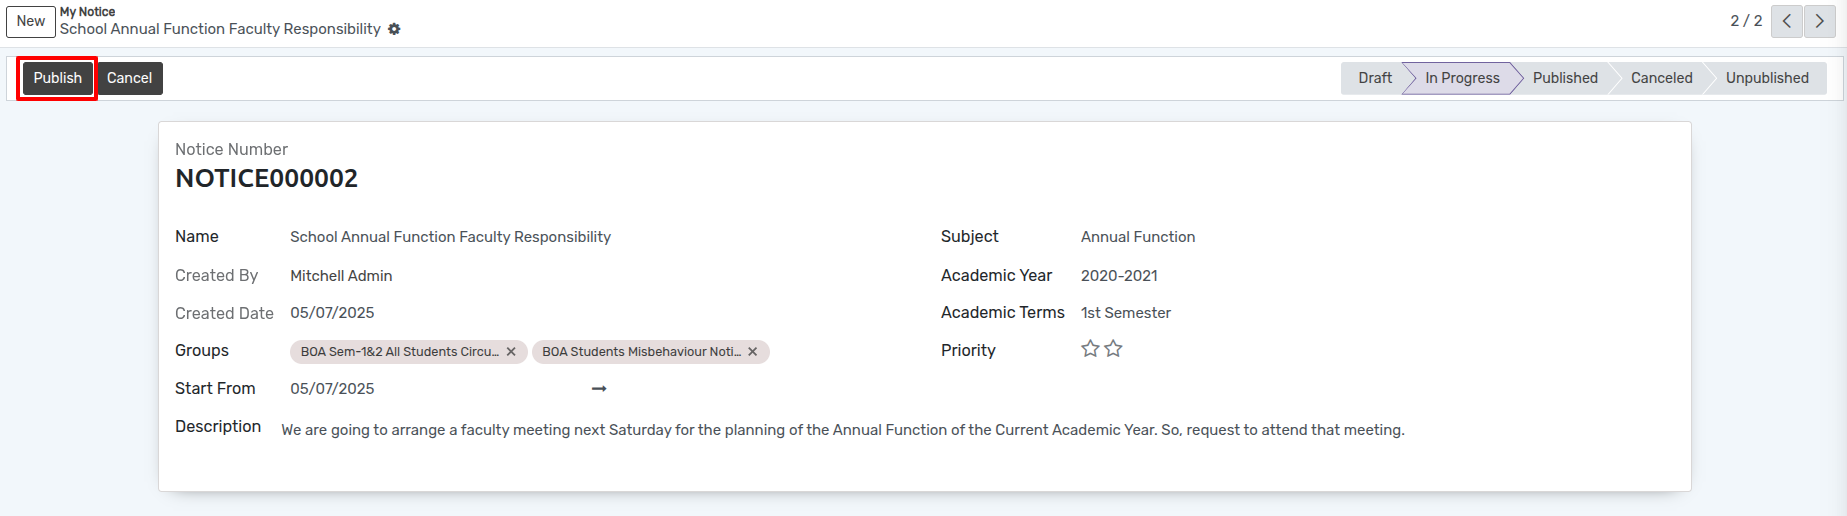
Publish
Click on Publish button to Publish the Notice. This changes the state of notice from In Progress to Publish. Students, Parents or Faculty can see only those Notices, which are in Publish state.
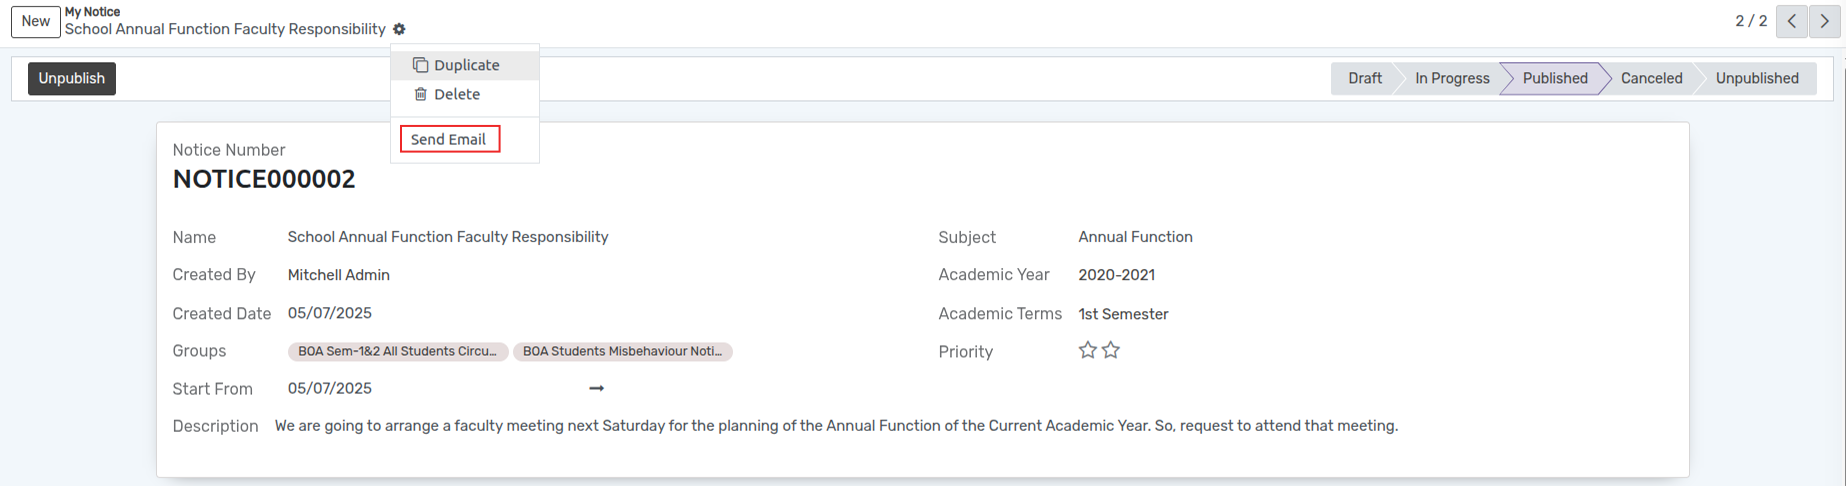
Send Email
Click on Send Email button to send Email to the People of Selected Group. Admin and Faculty can send Email to inform to the People of Selected Group when Notice in Published State.

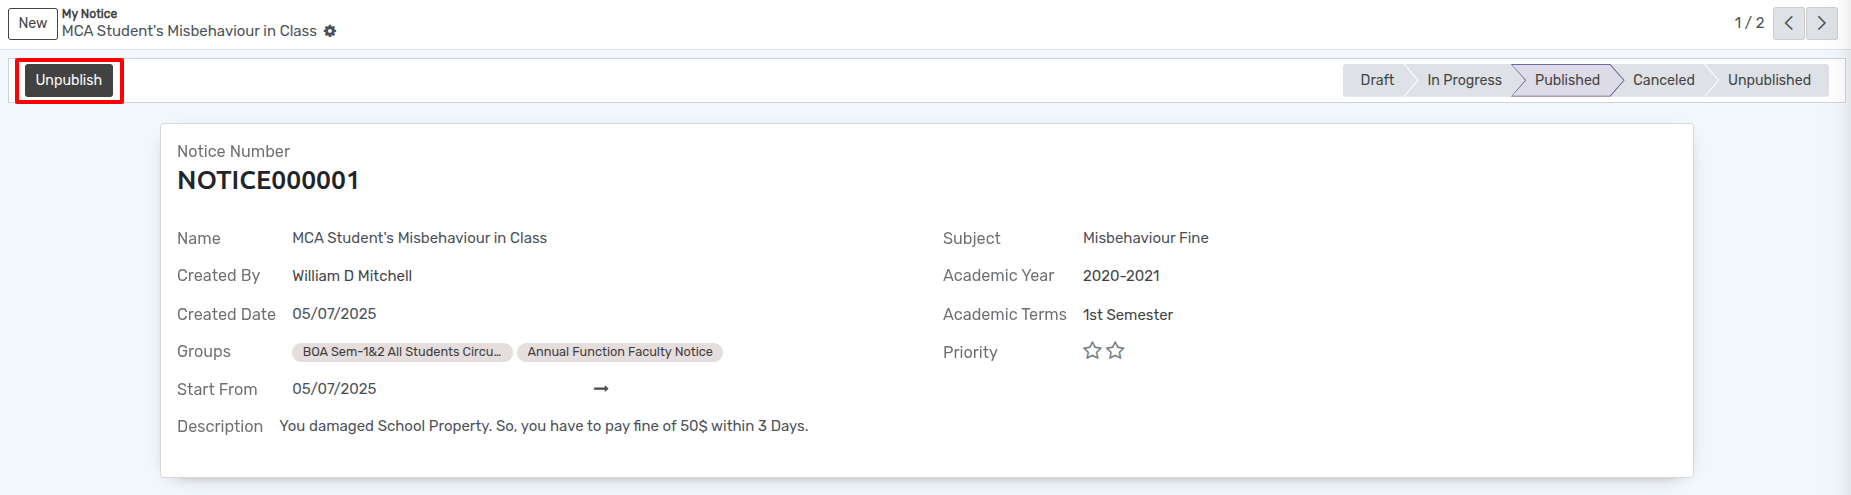
Unpublish
Click on Unpublish button to Unpublish the Notice. This changes the state of notice from Published to Unpublished. Students, Parents or Faculty can see only those Notices, which are in Publish state.
Circular
Same as Notice, Admin and Faculty can Create and Publish Circular.
