Exams
Exam Session contains multiple exams. Each individual exam can be created here with respect to each subject.
You can go to the . Click on New button to create new Exam.
Details of Exams
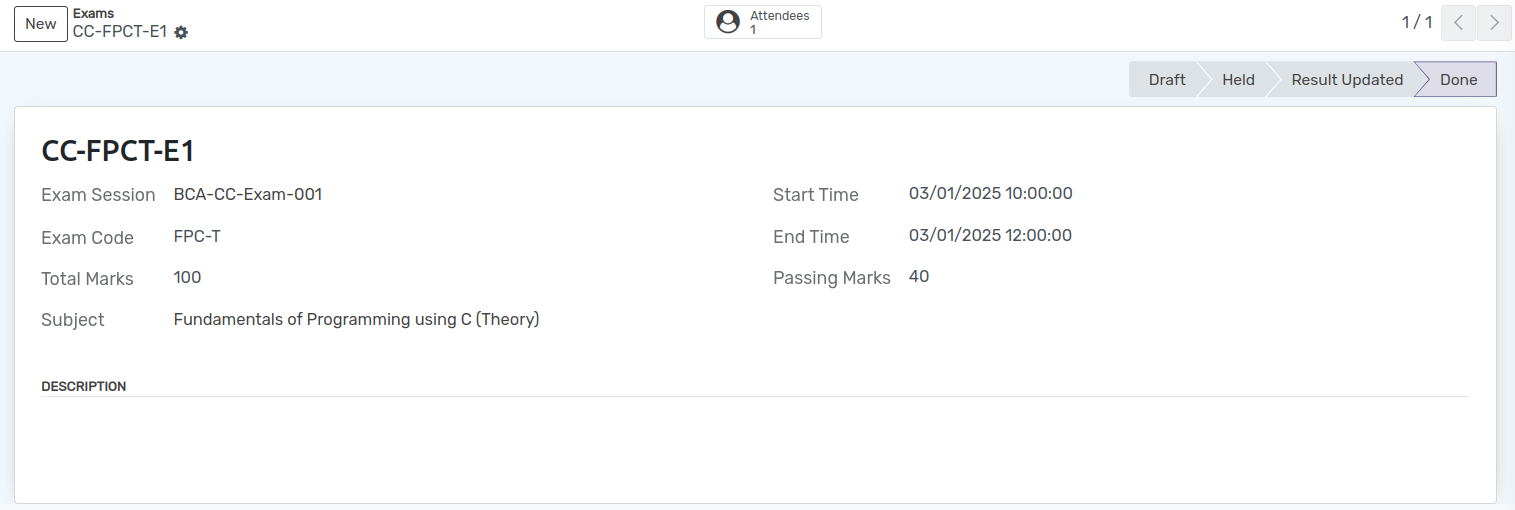
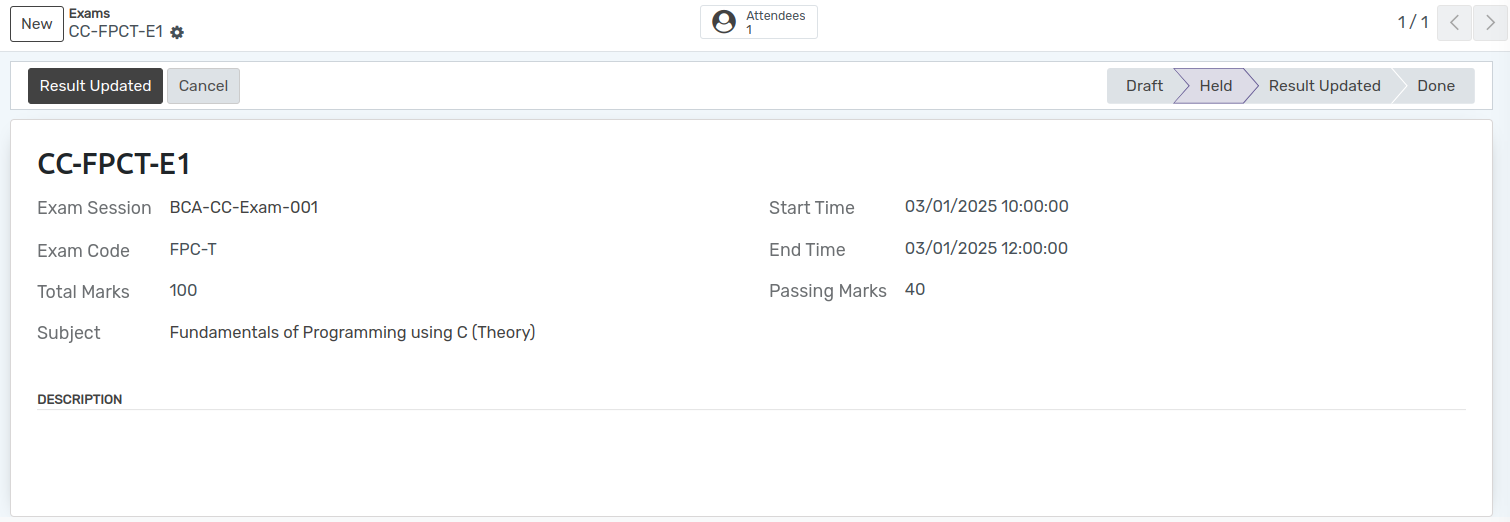
Exam Session :- Select the Exam Session under which this exam is contained from the list.
Exam :- Provide a name to the exam. Exam name should be reasonable according to the exam being held.
Subject: -Select the subject for which the exam is being held.
Exam Code :- Also Provide apppropriate code to the Exam. It should not be more than 8 characters long.
Start Time and End Time :- Provide the Start Time and End Time of exam.
Total marks and Passing marks :- Provide the Total marks and Passing marks of exam.
Attendees(Smart Button) :- Attendees includes all the students who will attend the exam.
Workflow of Exams
Draft
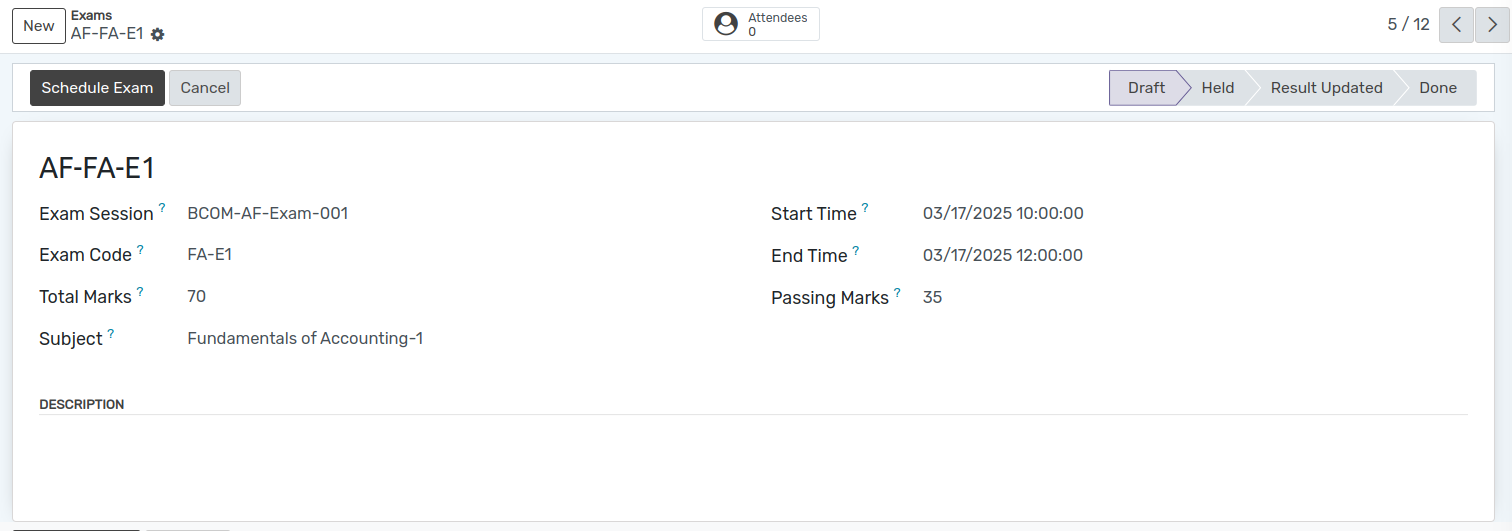
Once the details are filled up in the exam form and it is saved, the state is Draft. Workflow of this form is started from here.
Scheduled
Click on Schedule Exam button to schedule the exam. This changes the state of record from
DrafttoScheduled.
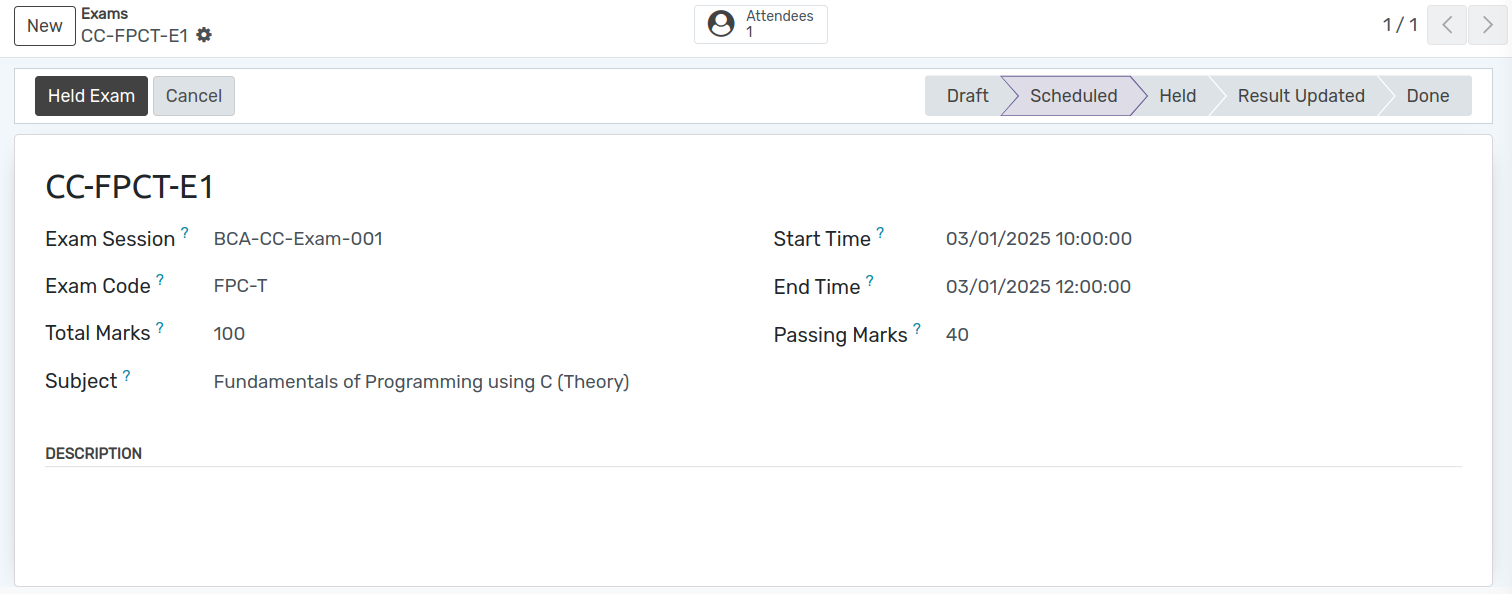
Held
Click on Held Exam button to start the exam. It will open wizard asking detail for attendees.
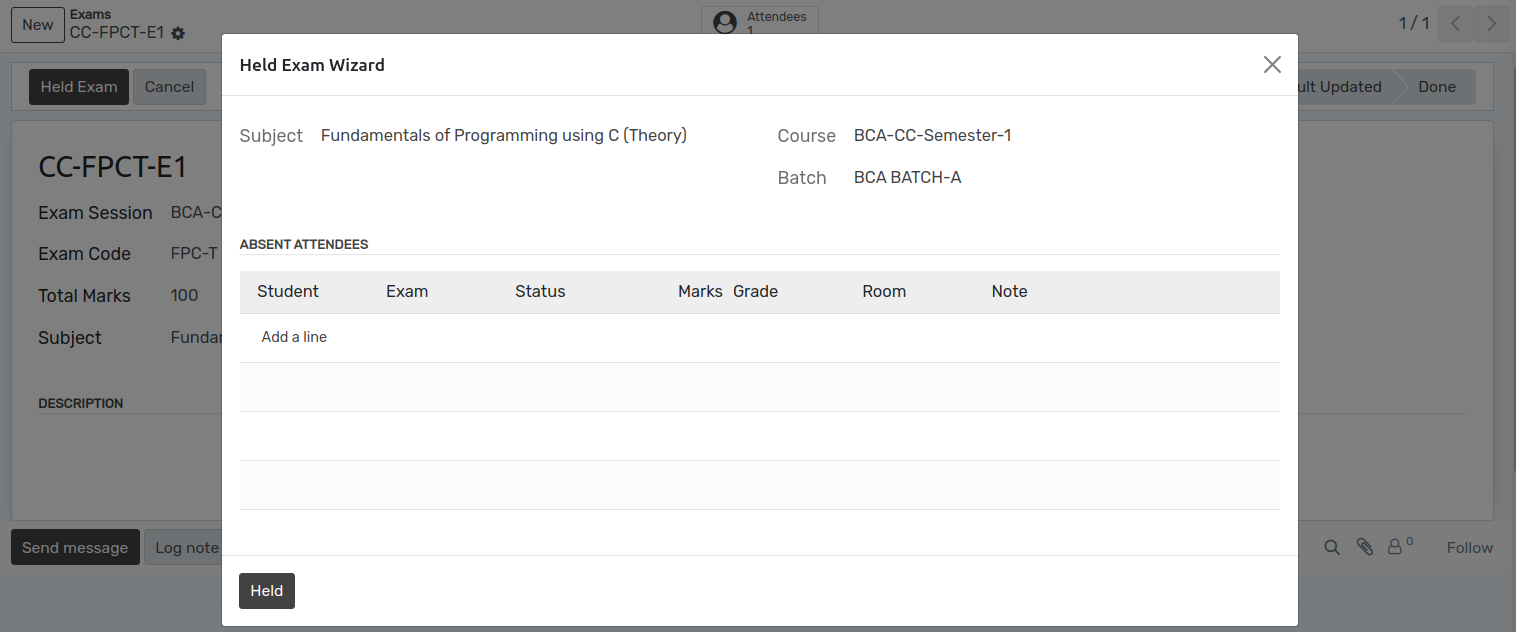
Click on Held button and this changes the state from
ScheduledtoHeld.
To update result You can go to the and select attendees to update their result.
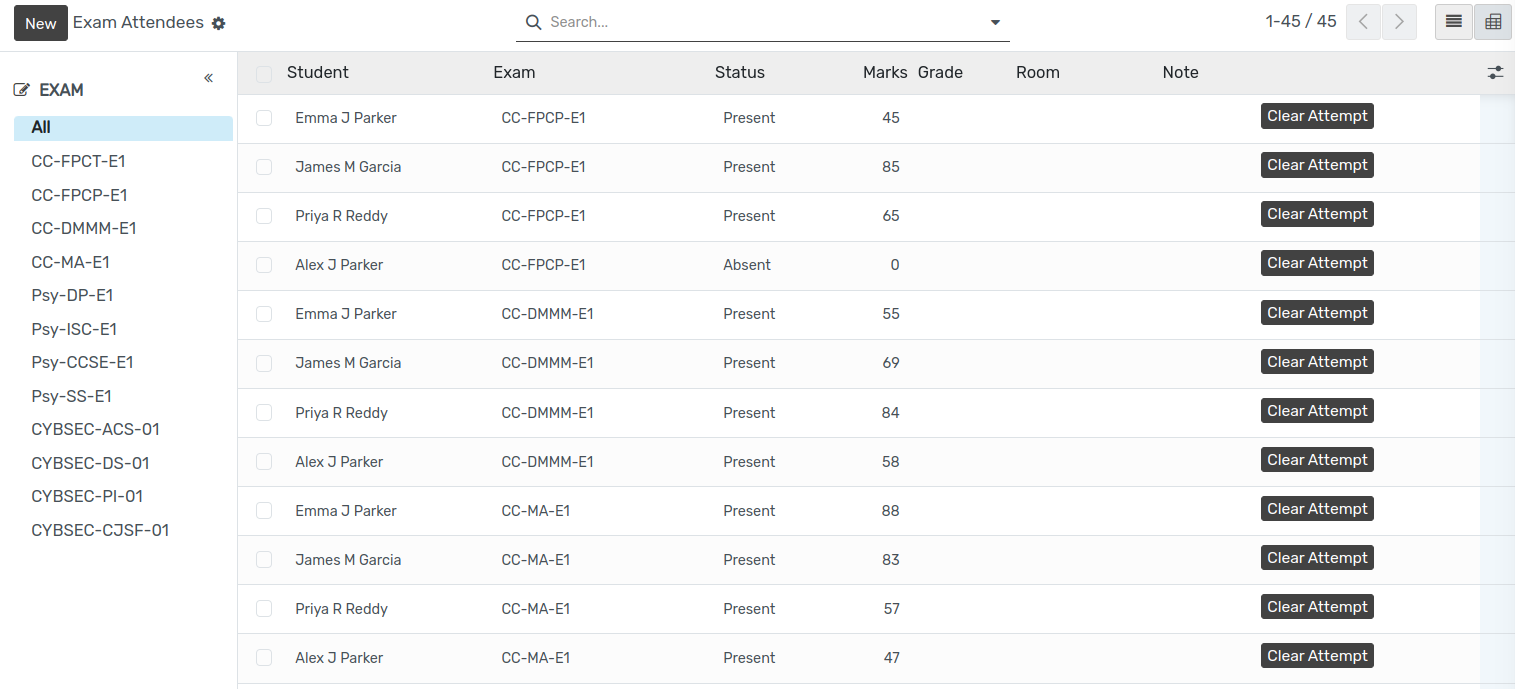
Then go to the exams again and you can see updated result of student.
Result Update
Click on Result Update button. This changes the state to
Result updated.

Done
Click on Done button. This changes the state to
Done.